How to Build a New App in AlphApp Platform
AlphaApp platform helps you to create your own app with only a few easy to use steps. You only need to Login, follow these steps and you are set to go.
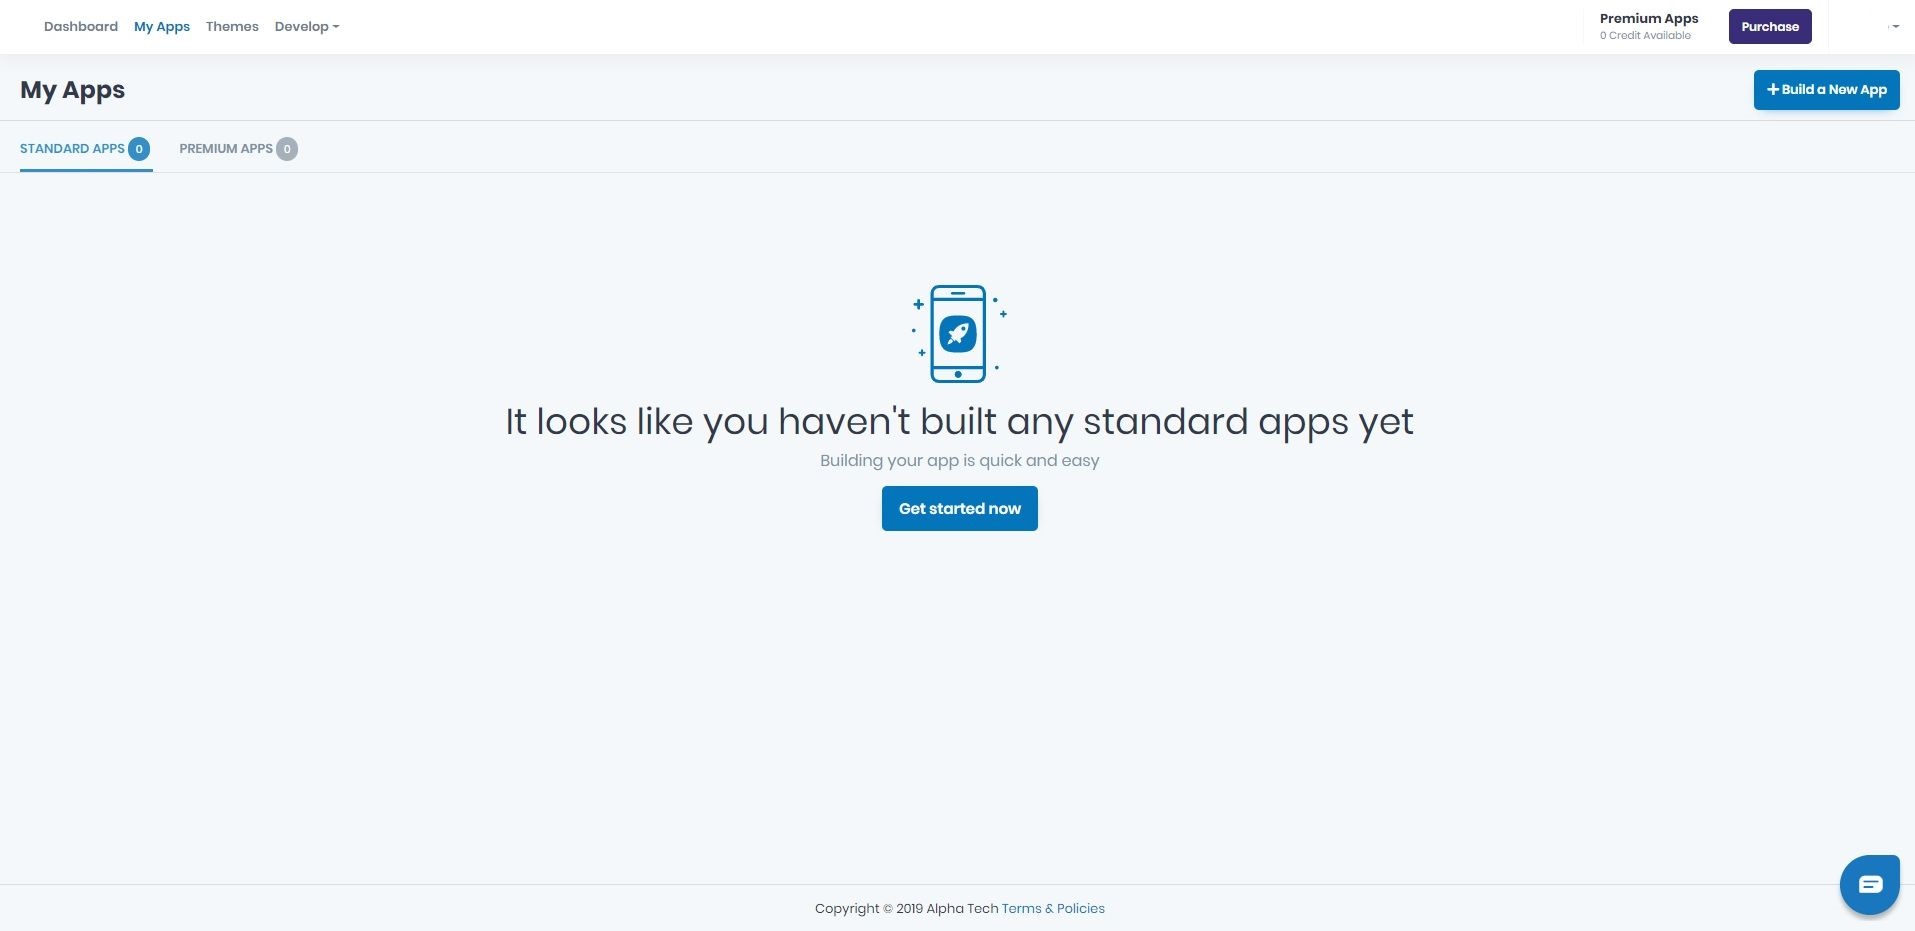
1. Go to My Apps and click on Build a New App on the right
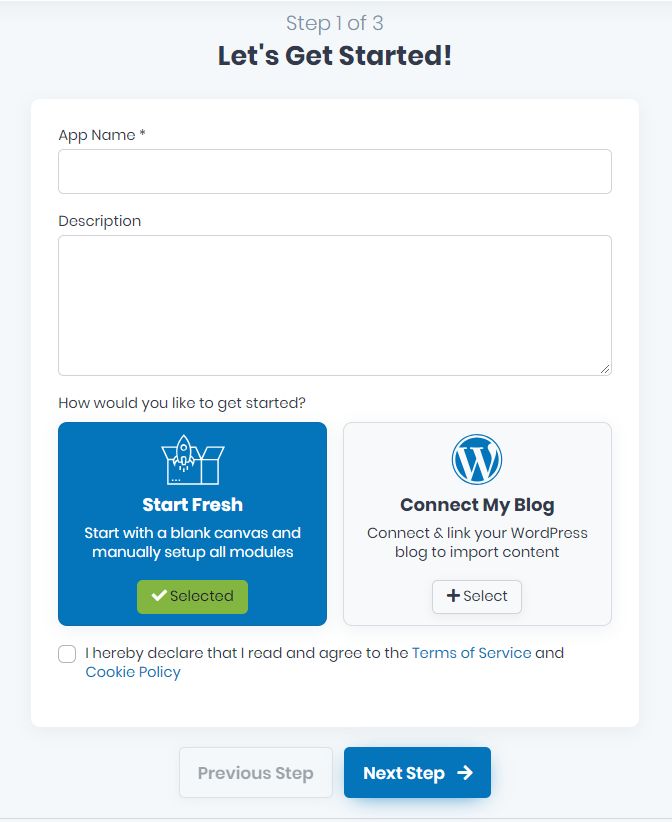
2. Now, Let’s get started!
Add the app’s name (be original) and description (be as descriptive as possible)
Select the option you wish to use, either Start Fresh or Connect My Blog if you already have one established.
Don’t forget to agree with the Terms of Service and Cookie Policy before going to Next Step.
3.Basic Information
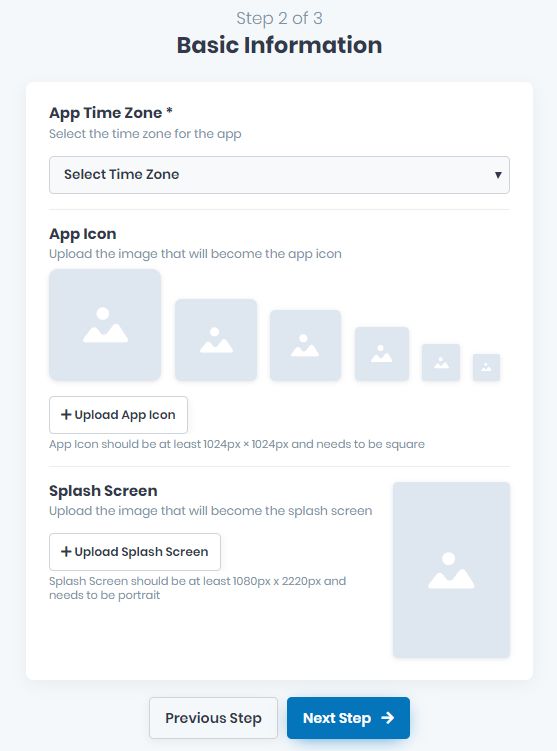
Select the App Time Zone.
Upload the image that will be displayed as the App Icon. The size and format are important in order to appear correctly on the app.
Upload the image that will become the Splash Screen. The size and format are important in order to appear correctly on the app.
If you wish to change some Previous Step this is possible, if not, off to Next Step.
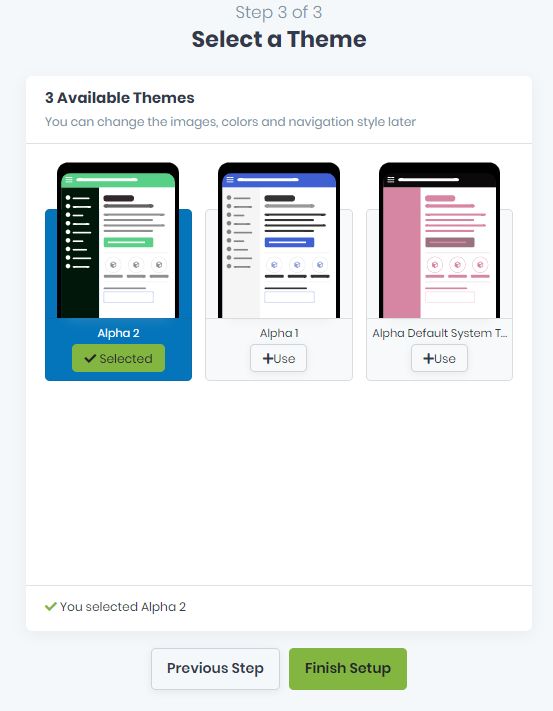
4. Select a Theme
Now is the moment to select the Theme of your app. This will be one of the preestablished themes.
If can also customize it according to your preferences. If you wish you can change it later.
Then click on Finish Setup and you are done.
5. Dashboard
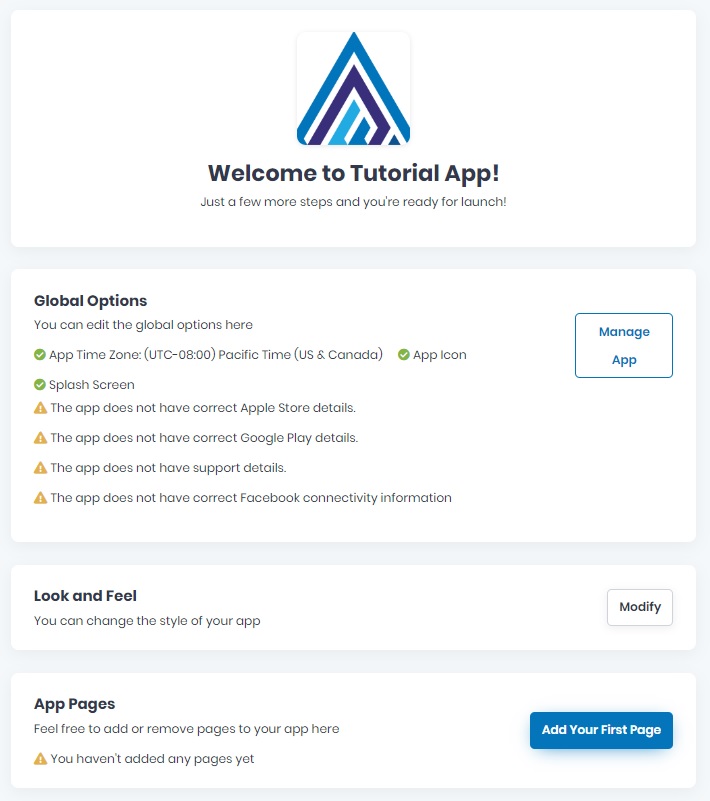
Now is time to see your app so far! If you wish to upgrade and get access to all Premium features, go ahead and Go Premium right now.
You can also do it whenever you consider important to add one or more premium features.
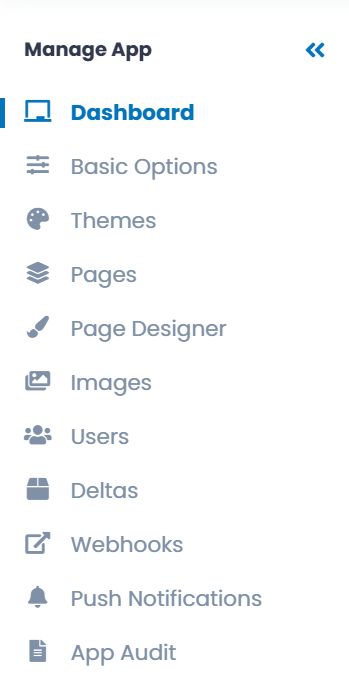
While in Dashboard, you can make changes to your selected options by clicking Manage App, or you can change the style of your app by clicking Modify, or you can start adding pages to your app by clicking Add Your First Page.
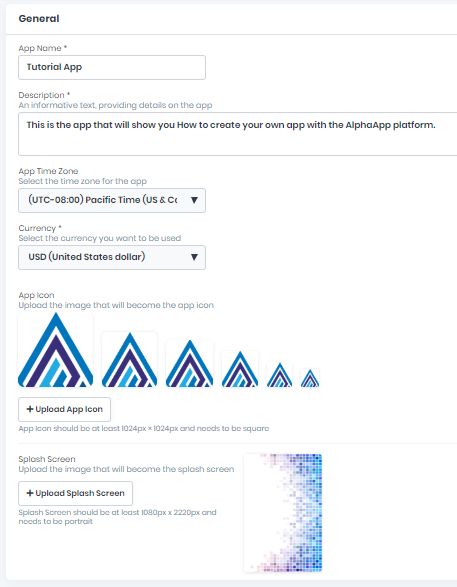
6. Global Options
If you chose to Manage App you will be able to change/add the general information of your app. If you want to delete your app, click on the red button Delete this App.
This is the General information that you can edit: App Name, Description, App Time Zone, App Icon and Splash Screen. If you wish to change any of it, here is the time and place.
You can also do it later, whenever you consider necessary.
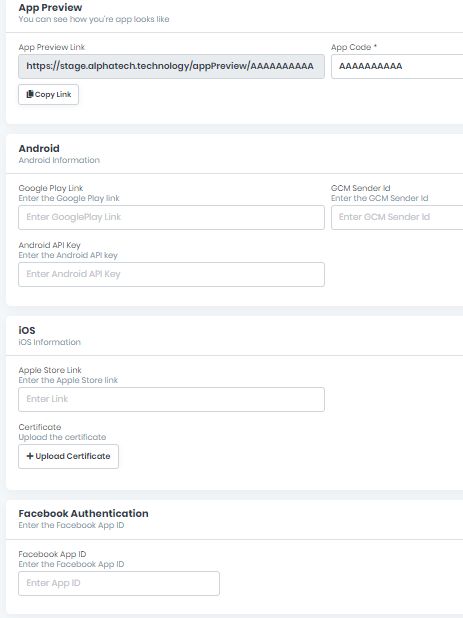
If you have the App Code, you can add it here and see how your app is looking. Copy the Link and paste it into your browser.
Here is the place to add the Android information available, as soon as you have the Android API Key. Then you can add the Google Play Link and the GCM Sender ID. If you don’t have any of them you can come back later and add them in order to complete the Android information.
Here is the place to add the iOS information available, as soon as you have the Certificate. Then you can add the Apple Store Link. If you don’t have them you can come back later and add them in order to complete the iOS information.
If your app is going to be linked with a Facebook account here you can make the Facebook Authentication by entering the Facebook App ID.
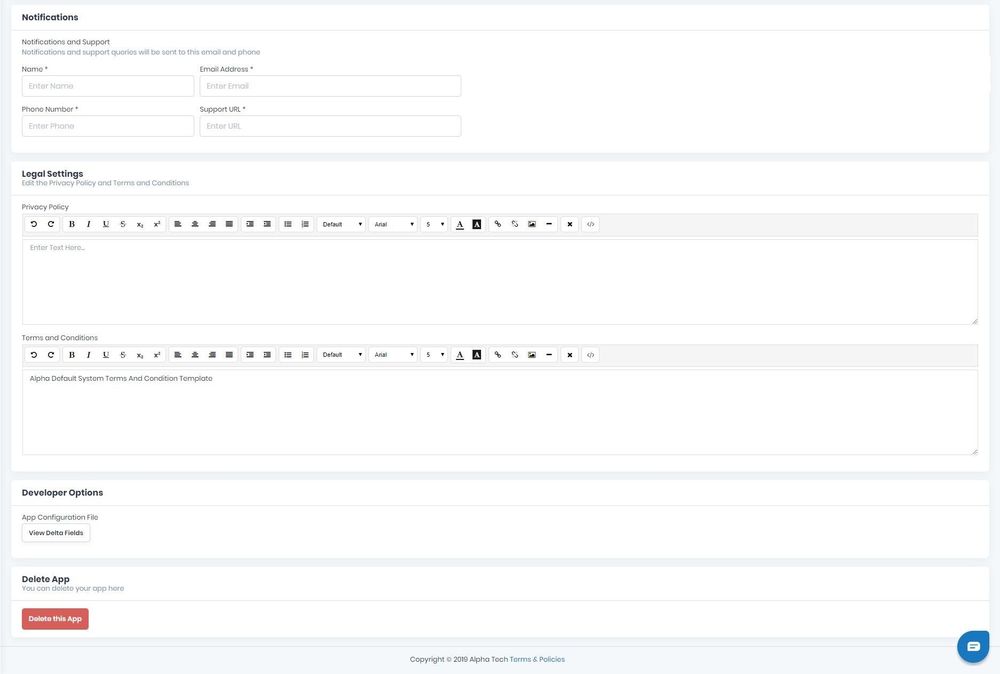
Enter here the name and the email address where all the Notifications will go. You won’t be able to save the changes if you did not add this information.
Privacy Policy and Terms and Conditions are very important. You can add/change the Legal Settings here. If you don’t have them you can come back later and add them in order to cover all the legal settings.
If you have additional files that you want to link to your app you can upload them here in Developer Options.
Don’t forget to Save the changes by clicking the upper right button.
7. Themes
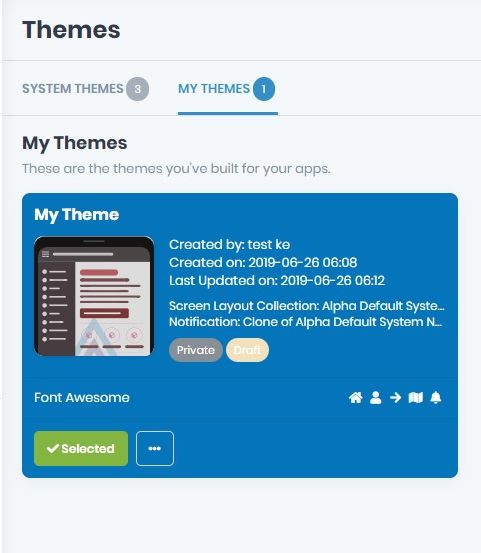
If you want to create new themes for your app here is the place. Customize the existing ones or Build New Theme.
If you wish you can change it later.
Then click on Save Theme and you are done.
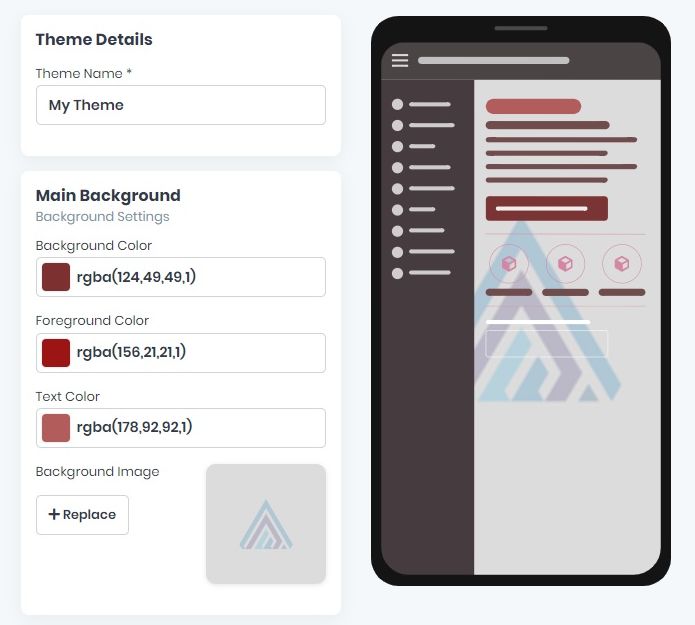
Add the Theme Details like Theme Name, Main Background color & image.
As a General Layout add Borders and dividers, Field Shadow, Errors and Icon colors.
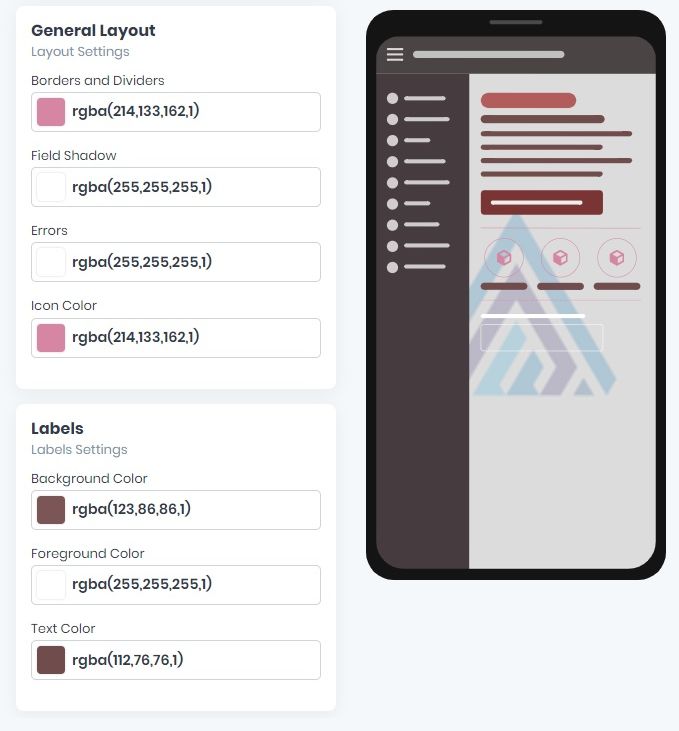
You can change the color of a specific element of your app. Add the exact color code for each of them and see how they look.
Customize the colors for Labels, for the background and the text as well.
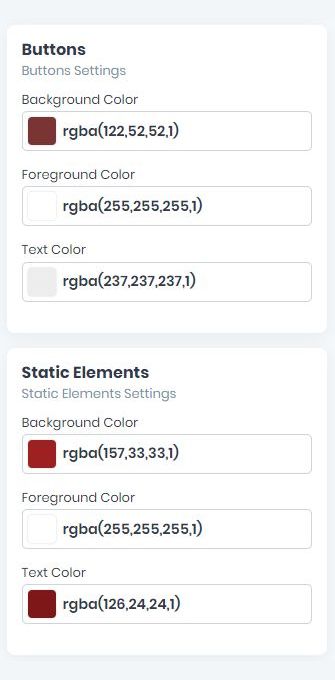
Customize the colors for the Buttons, for the background and the text as well.
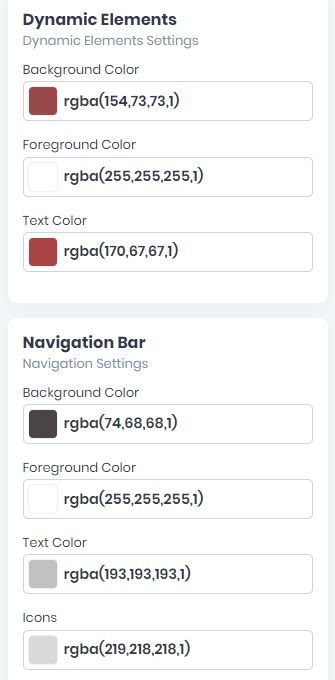
Customize the colors for the Static Elements and for the Dynamic Elements, for the background and the text as well.
Customize the colors for the Navigation Bar, for the background, the text and the icons.
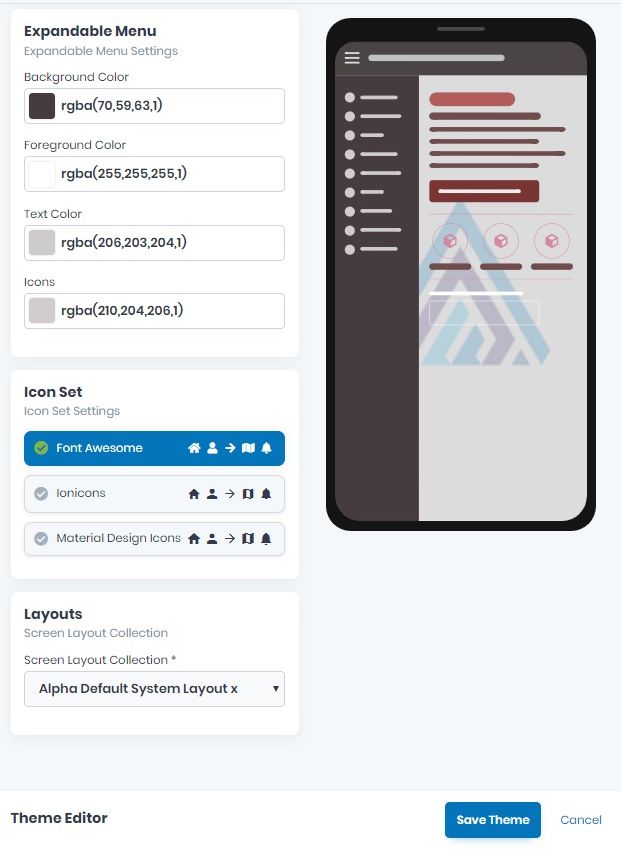
Customize the colors for the Expandable Menu, for the background, the text and the icons.
Choose the Icon Set and check how it looks.
Choose the Layouts description before Save Theme or Cancel.
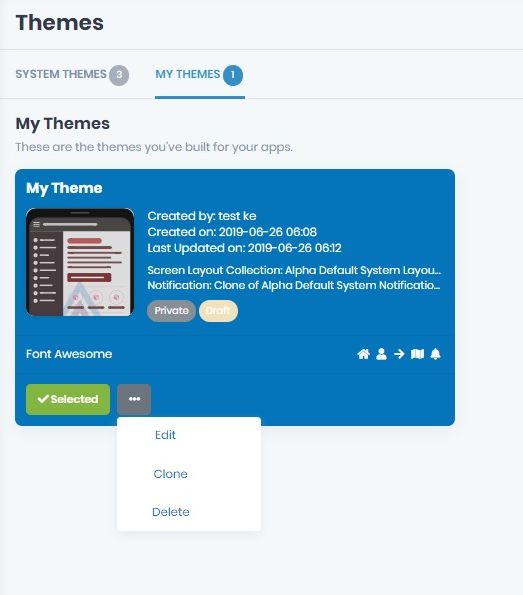
After you see your new theme in My Themes, click on it to Use it.
If there are other Actions you wish to do about the newest theme you can Edit, Clone or Delete it here.
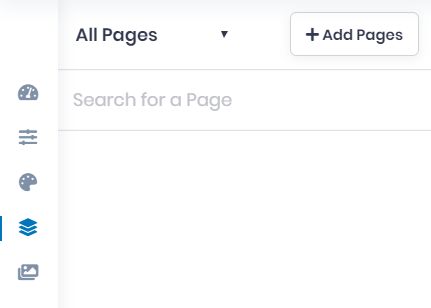
8. App Pages
Here you will be able to see All Pages, the Active Pages, or the Inactive Pages of your app.
If you are looking for a specific page or your app you can do it here, by clicking Search for a Page.
Now is the time to start adding pages to your apps by clicking the Add Pages button.
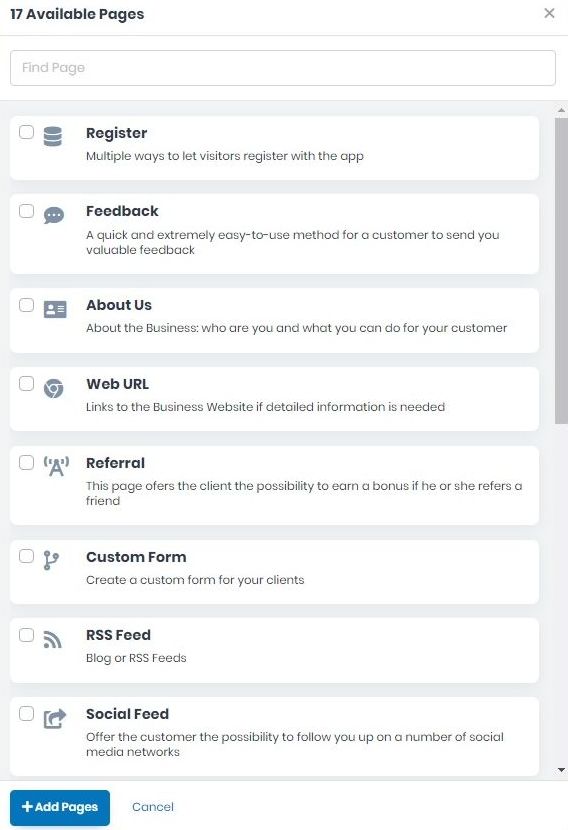
There are 17 available pages from which you can choose the ones that you wish to add to your app and click on Add Pages.
The Custom page is the one that you can create as you wish from the very beginning. You can add as many of those as you want.
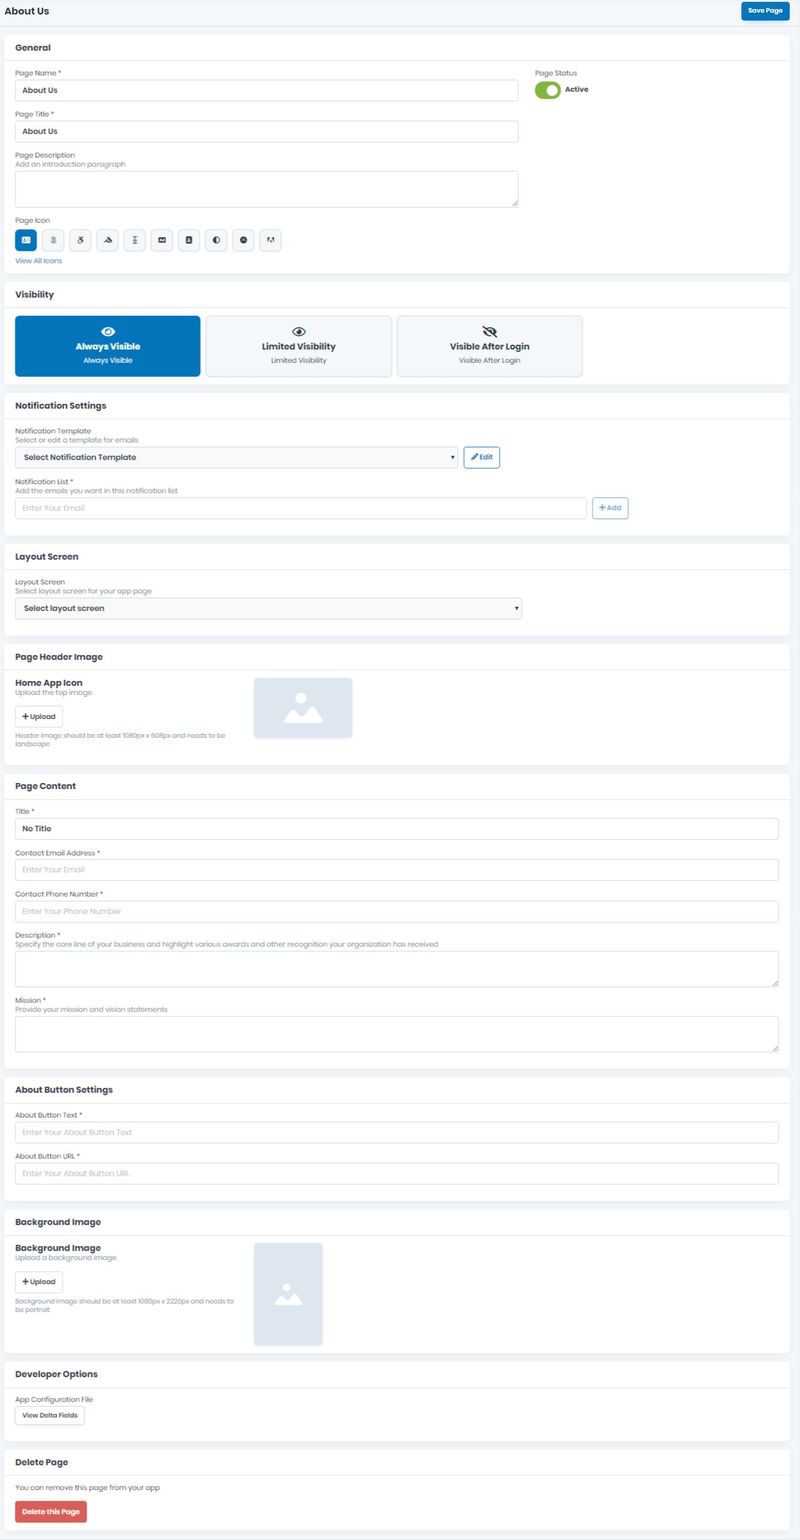
Now, take the time to add the specific info on all the pages you have added to your app, as well as the page Active/Inactive status.
View all icons and choose the page’s icon. Click on the one you want to use and Save.
Choose the page Visibility here as follow, Always Visible, Limited Visibility or Visible After Login.
Upload the Home App Icon which will be displayed on top of the app. The size and format are important in order to appear correctly on the app.
Upload the Page Content here by adding Title, Contact Email Address, Contact Phone Number, Description (Specify the core line of your business and highlight various awards and other recognition your organization has received), and Mission (Provide your mission and vision statements).
All this info is mandatory for your app.
Create the About Button Settings by creating the content, and the URL of the button (if you have a page with more detailed info).
If there are some files you want to link to this page, you can do it here, in Developer Options.
If you wish to delete this page from your app, you can do it here by clicking Delete this Page.
Don’t forget to Save the page created by clicking the Save Page button up on the right.
9. Change the order of the pages in your app
You can choose the order of your pages by simply going in App pages and click and drop the pages until you obtain the preferred order.
10. Preview your app
11. Publish your app
1. Select the app you want to publish and click on the Publish button on the right

2. From the left sidebar go to Dashboard
3. On the dashboard go to Download Binaries
Download your app's binaries and publish it in the app stores or manually install it on your phone.