Layouts - Dev Studio AlphaApp Platform
The collection of screens used for proper display of the modules’ elements in the app is named here Layouts. The screen is
the user interface of all the elements from a module.
The Default System layouts are already opened in your left window and cannot be deleted. You can use them as they are, or you can
clone them and change only the features you consider important for your app. You can personalize your app’s screens according to the
specific needs of your business.

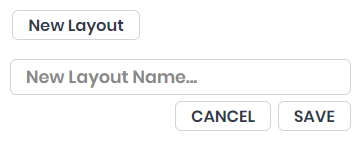
To create New Layout type the Name of the layouts bundle, which is mandatory in order to be more easily identified in the theme builder.
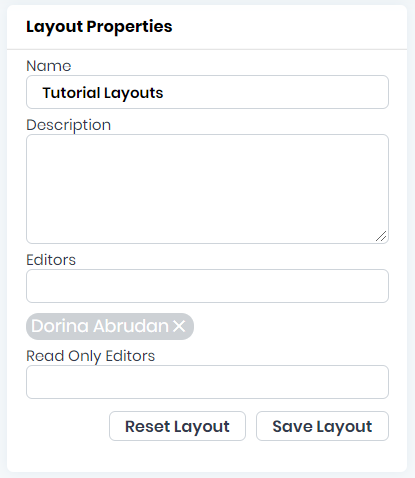
A window will open in the right side of the screen where you can add the Description, the Editors (people from your team that will be able to edit the info in Dev Studio) and the Read Only Editors (people from your team that will be able to view only the info in Dev Studio).
When done, don’t forget to Save Layout if you want to keep the info or Reset Layouts if you don’t need the Layout Properties just added.


Go to the Layouts and start adding your screens to the layouts by Add Screen and complete the info requested: Screen name, choose a Screen Type and an Alpha Feature that the screen will have. When done, don’t forget to Save if you want to keep the info or Cancel if you don’t need the screen just added.
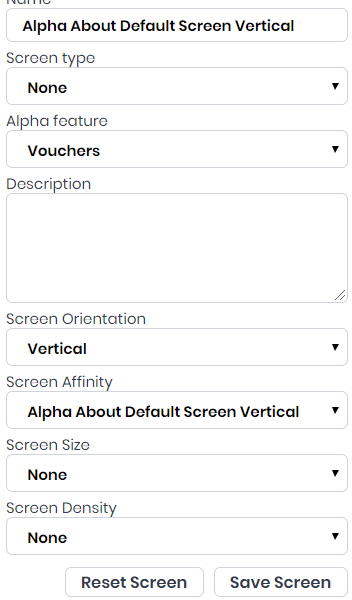
Click on the screen created and start to define the Screen Properties on the right side of the screen.

Choose each of the elements that will identify the screen in your app: Name, Screen Type, Alpha Feature, Description, Screen Orientation, Screen Affinity, Screen Size, and Screen Density.
When done, don’t forget to Save Screen if you want to keep the info or Reset Screen if you don’t need the Screen Properties just added.
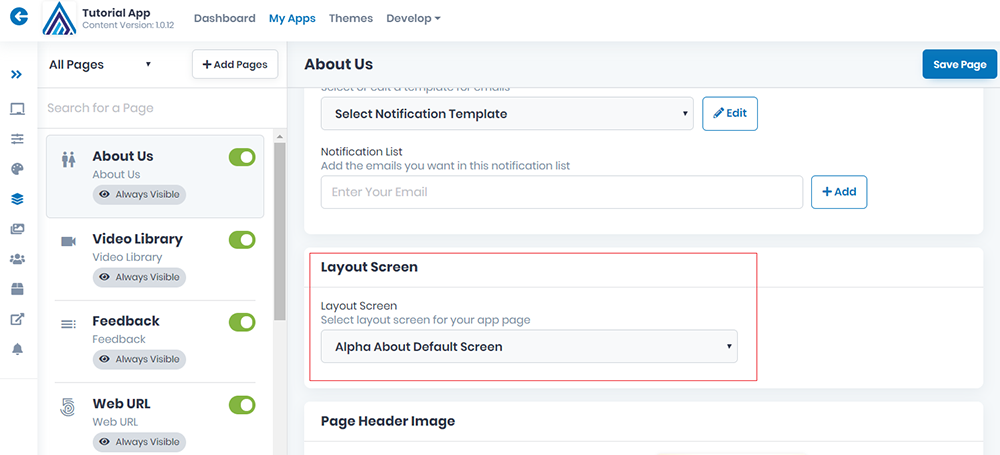
When selecting screen in the App Modules be sure to choose the one you designed especially in Dev Studio for this app.

