How to Create the Photo Library Page for your App
Share your precious moments by creating a Photo Library through the free feature of AlphaApp platform. The feature enables you to connect directly with your friends, family, colleagues and create a network through your app. Send images to individuals as well as in groups. Now, AlphaApp platform makes it easier!
First of all, be sure to Log In. Click on the Video Library under All Pages, while in App pages in the menu.
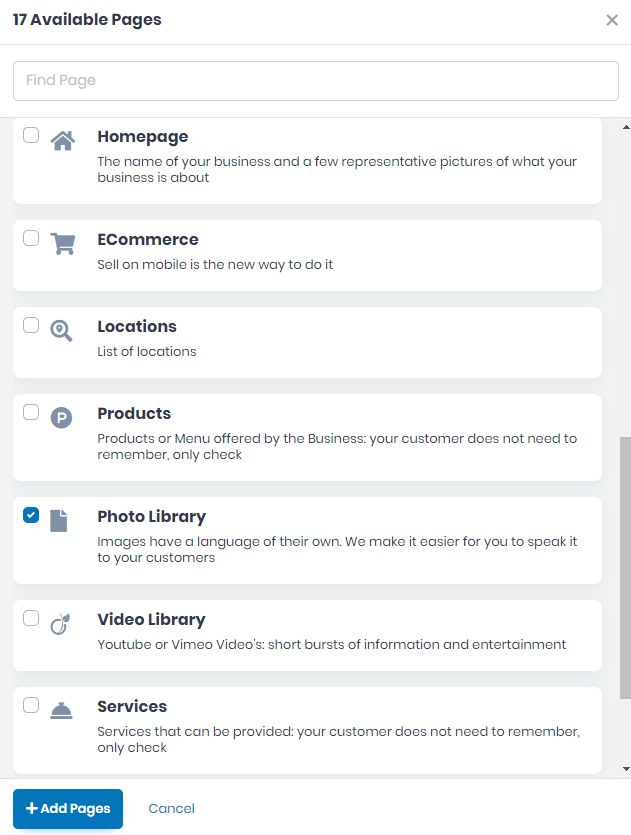
If the page does not appear there, you have to click on Add Pages and select the Photo Library page.
Save it by clicking the Add Pages button. Then go back to All Pages and select the Photo Library in order to start adding info to it.
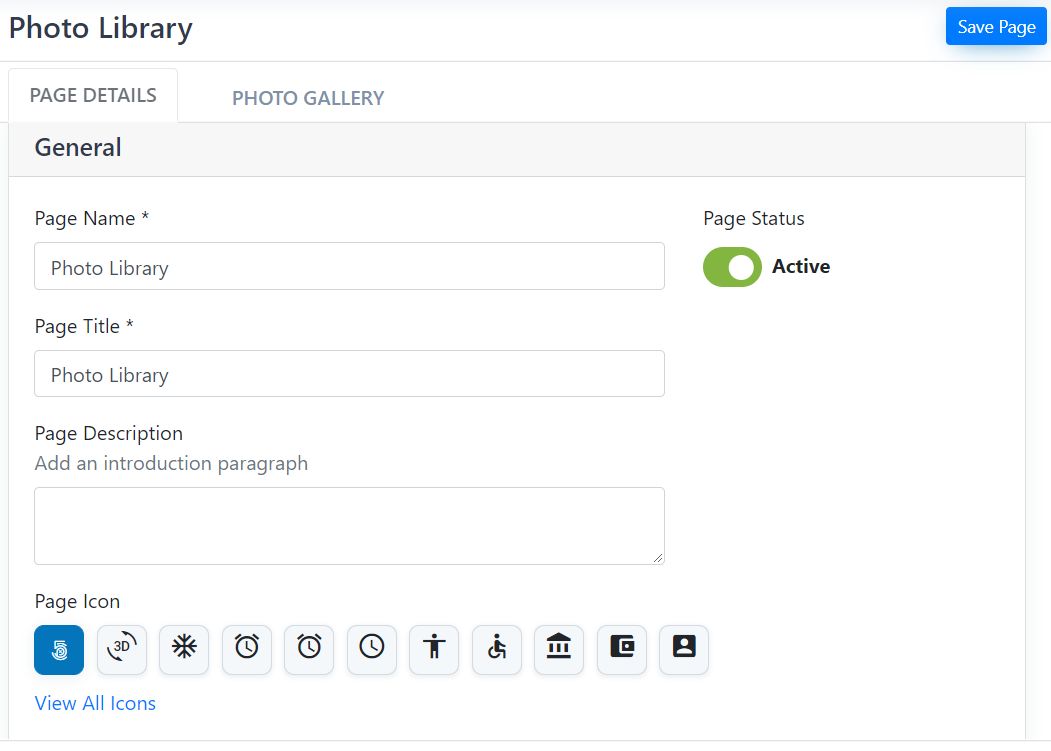
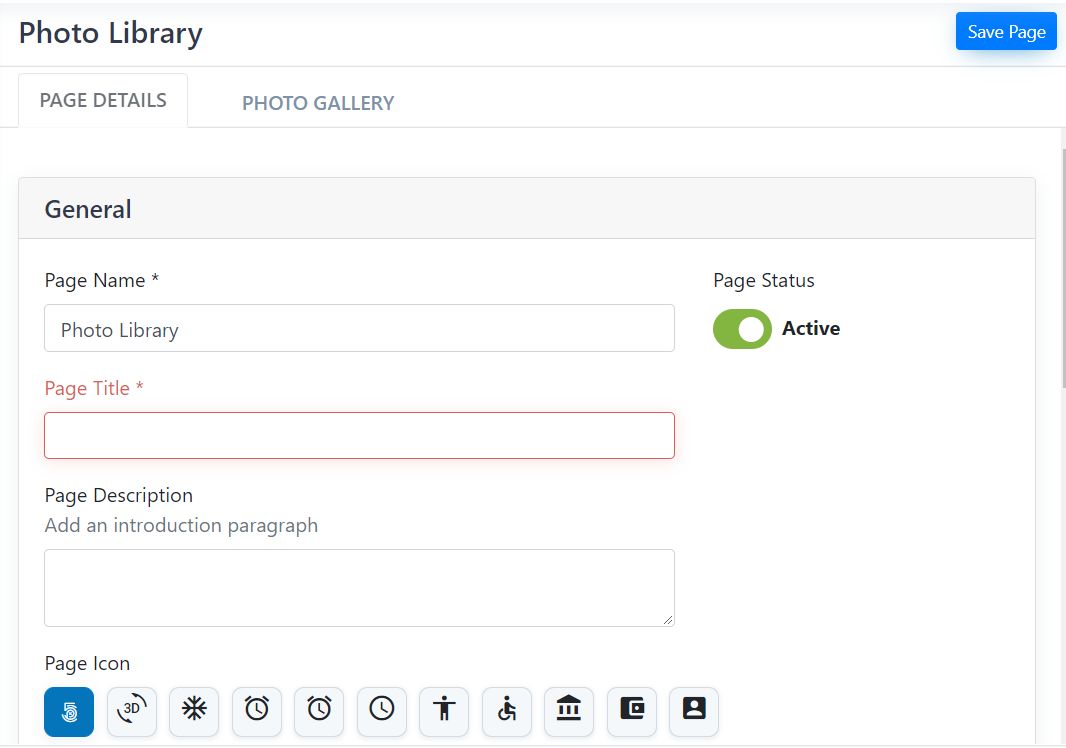
Now, take the time to add the specific info on all the fields on the PAGE DETAILS tab. Add the mandatory Page Name, and Page Title, as well as the Page Description and Page Icon. View all icons and choose the page’s icon. Click on the one you want to use and Save.
Choose the Active/Inactive Page Status.
Choose the page Visibility here as follow, Always Visible, Limited Visibility or Visible After Login.
Choose the Notification Settings. Here you can select or edit a template for emails. Also, here you can add the emails you want in this notification list.
Select the layout screen for your app page.
Add a background image.
If there are some files you want to link to this page, you can do it here, in Developer Options.
If you wish to delete this page from your app, you can do it by clicking Delete this Page.

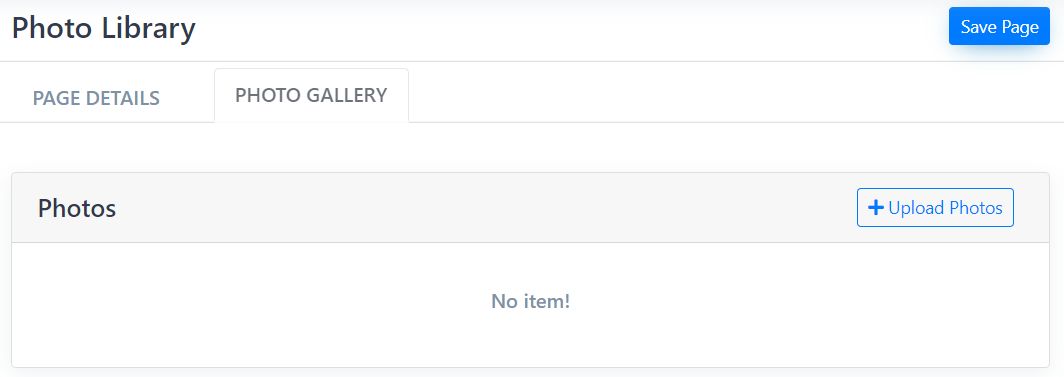
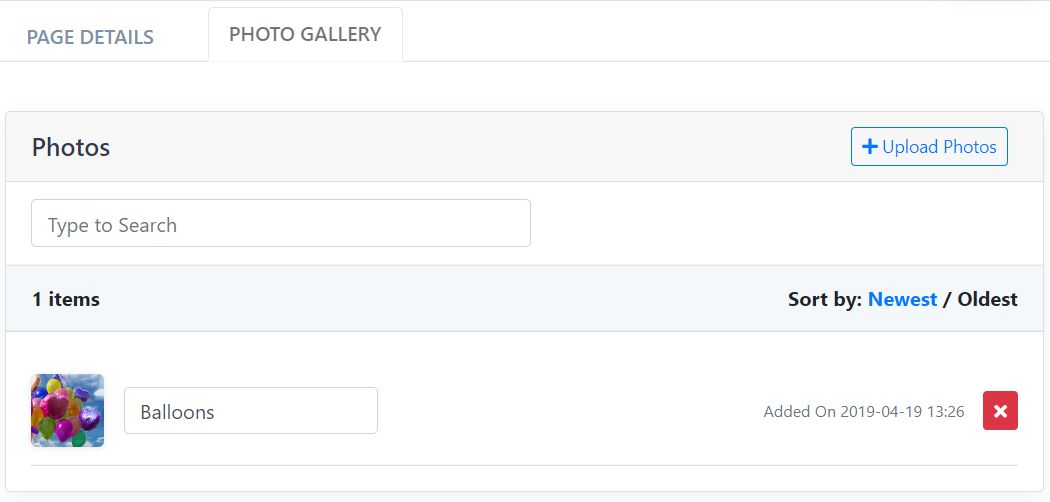
Now, go to the PHOTO GALLERY tab on the menu and start to Upload Photos, one by one.
You can sort the existing photos by Newest/Oldest one, and you can also delete a photo by clicking the small red square on the right. A pop-up will appear to confirm if you are sure you want to delete the photo.
Don’t forget to save the page created by clicking the Save Page button up on the right.
If there will be missing info, the page won’t be saved and the fields will appear in red. Please be sure to go back and complete them correctly and then save the page by clicking the Save Page button once more.