How to Create the Locations Page for your App
Add the Locations page to your business app created through AlphaApp easy to use platform. This will help your customers see that you are a real business and find the best place they can reach in order to visit you. Fast and simple. This is what AlphaApp platform is all about!
First of all, be sure to Log In. Click on the Locations under All Pages, while in App pages in the menu.
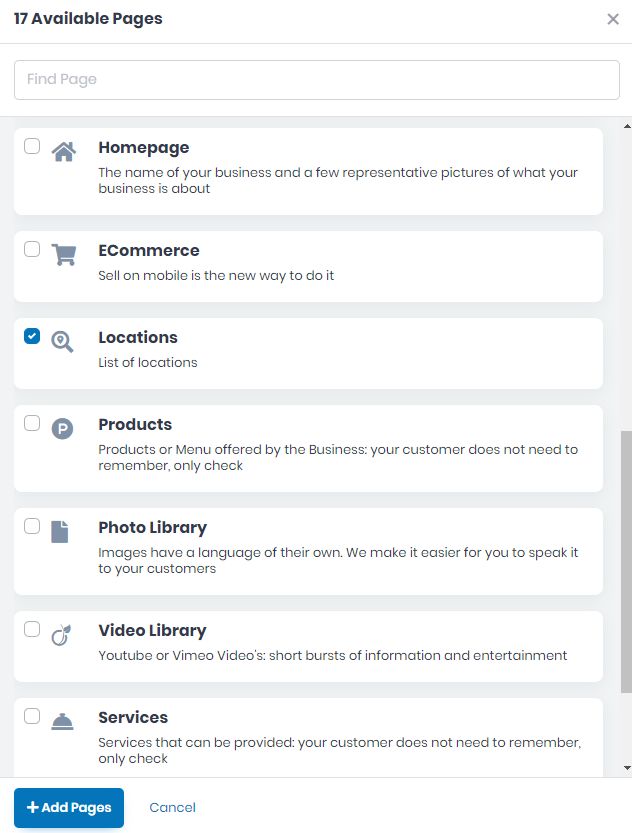
If the page does not appear there, you have to click on Add Pages and select the Locations page.
Save it by clicking the Add Pages button. Then go back to All Pages and select the Locations page in order to start adding info to it.
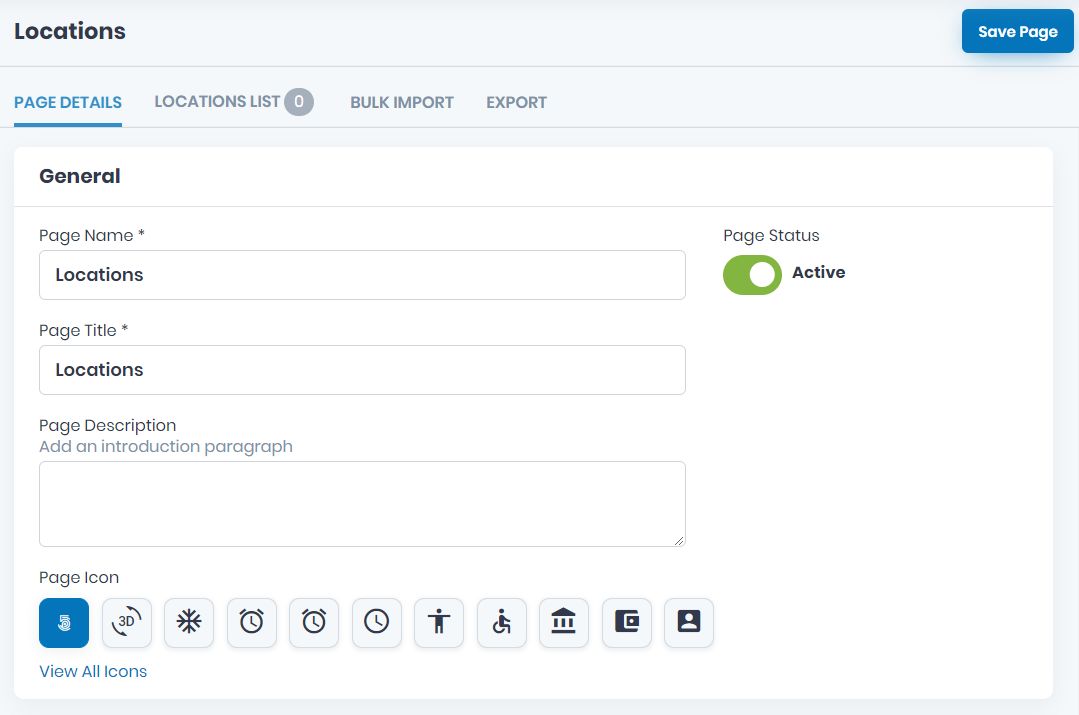
Now, take the time to add the specific info on all the fields on PAGE DETAILS tab. Add the mandatory Page Name, and Page Title, as well as the Page Description and Page Icon. View all icons and choose the page’s icon. Click on the one you want to use and Save.
Choose the Active/Inactive Page Status.
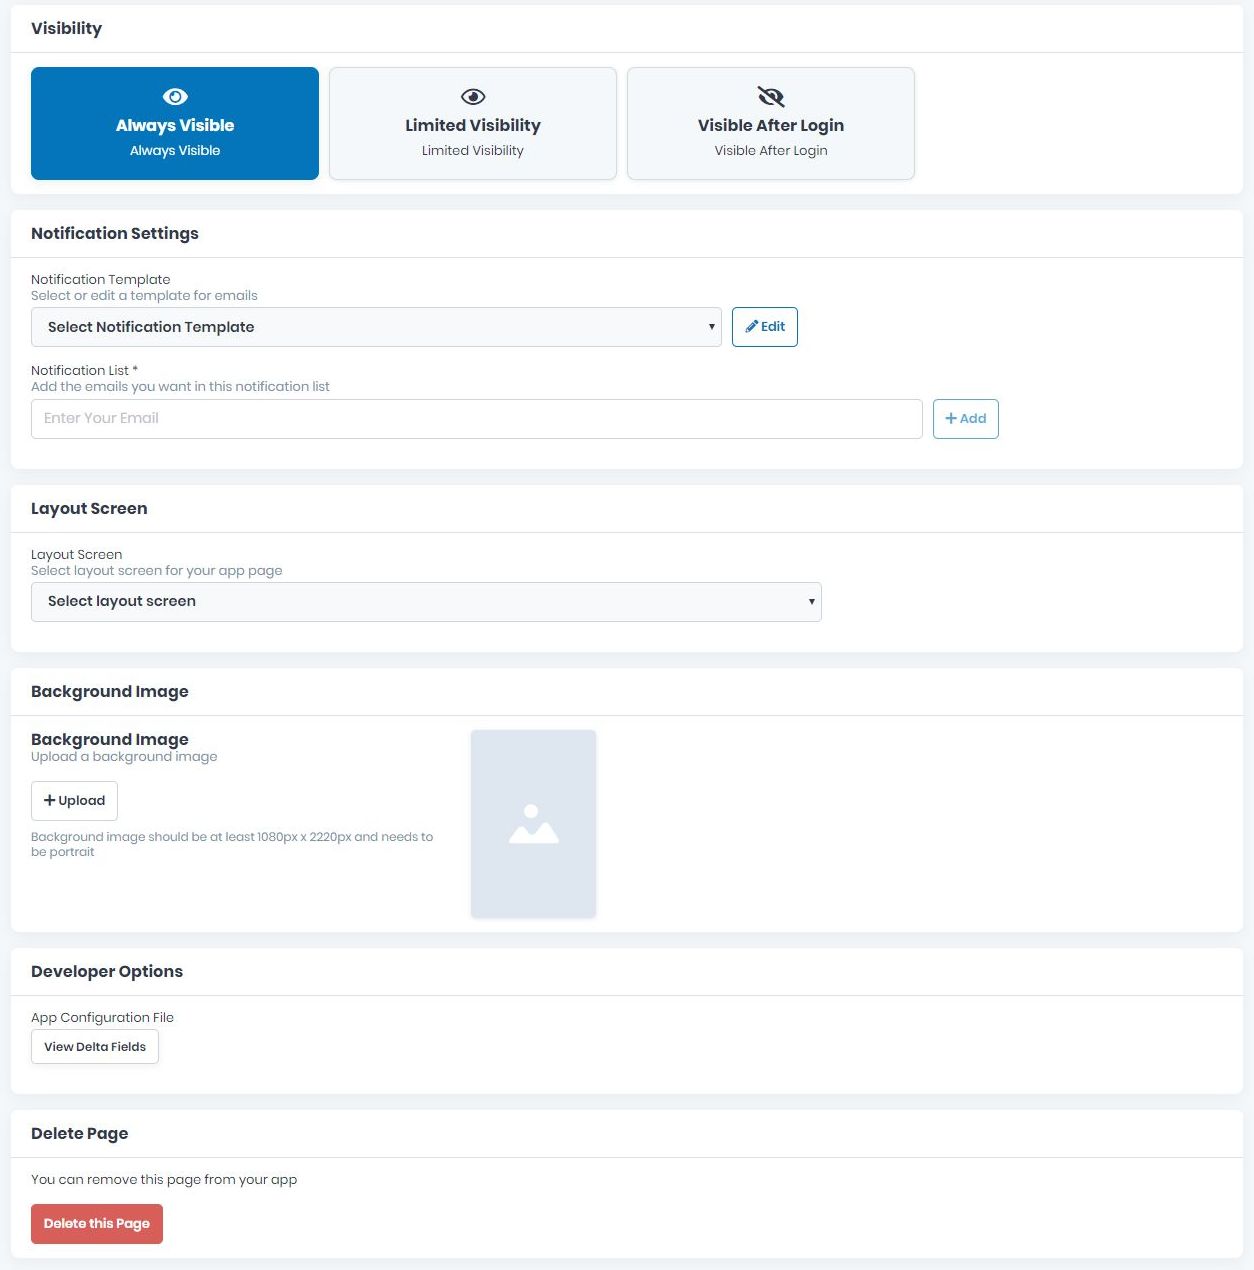
Choose the page Visibility here as follow, Always Visible, Limited Visibility or Visible After Login.
Choose the Notification Settings. Here you can select or edit a template for emails. Also, here you can add the emails you want in this notification list.
Select the layout screen for your app page.
Add a background image.
If there are some files you want to link to this page, you can do it here, in Developer Options.
If you wish to delete this page from your app, you can do it by clicking Delete this Page.
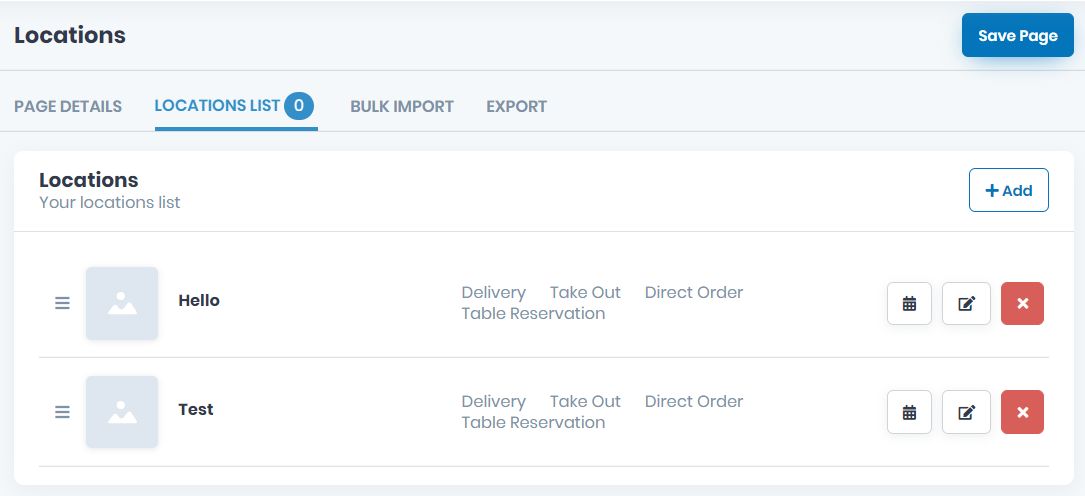
Now, go to LOCATIONS LIST tab on the menu and start adding your location one by one by clicking on the Add button.
If you need to add other locations later on, you can always come back and make add them here.
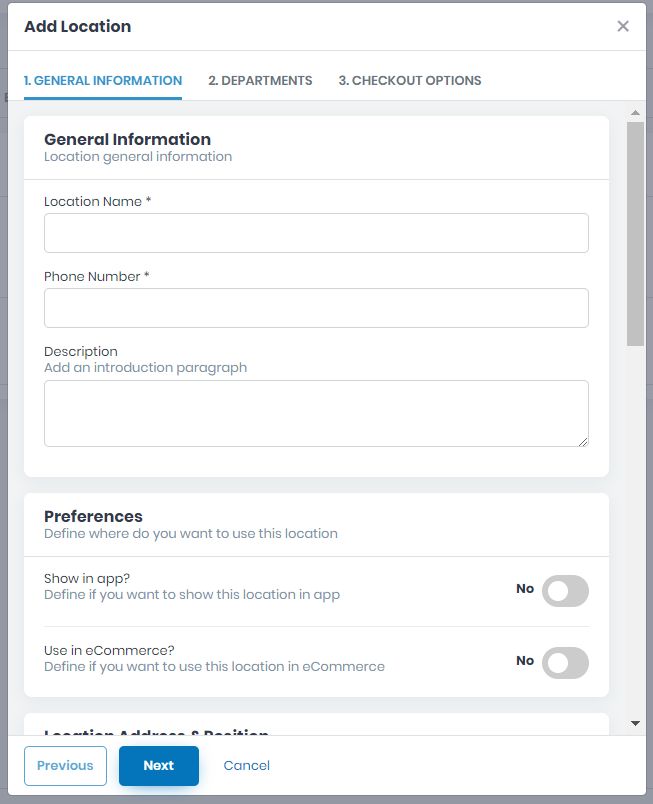
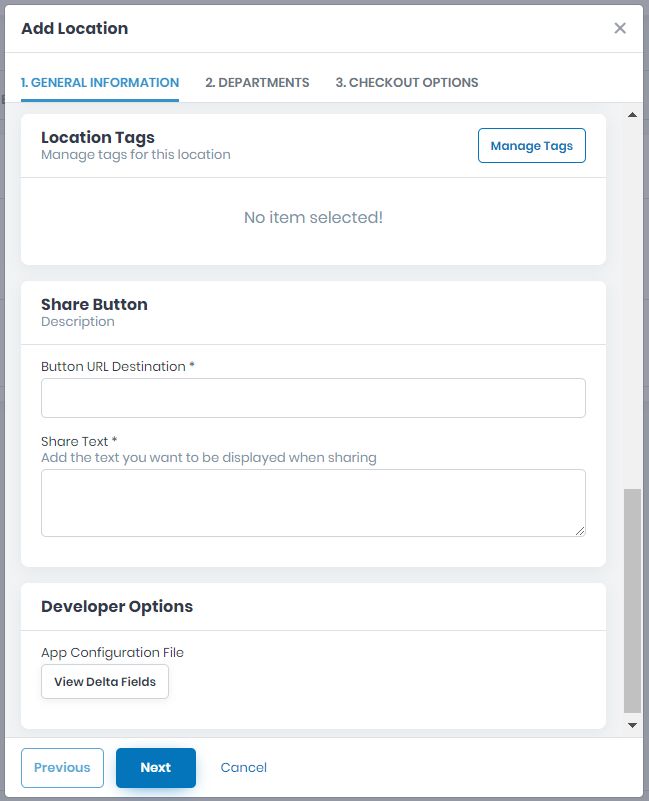
Start adding the GENERAL INFORMATION like Location Name (mandatory), Phone Number (mandatory) and Description.
Define your Preferences by dragging the Yes/No button if you wish to Show in-app or use it in eCommerce.
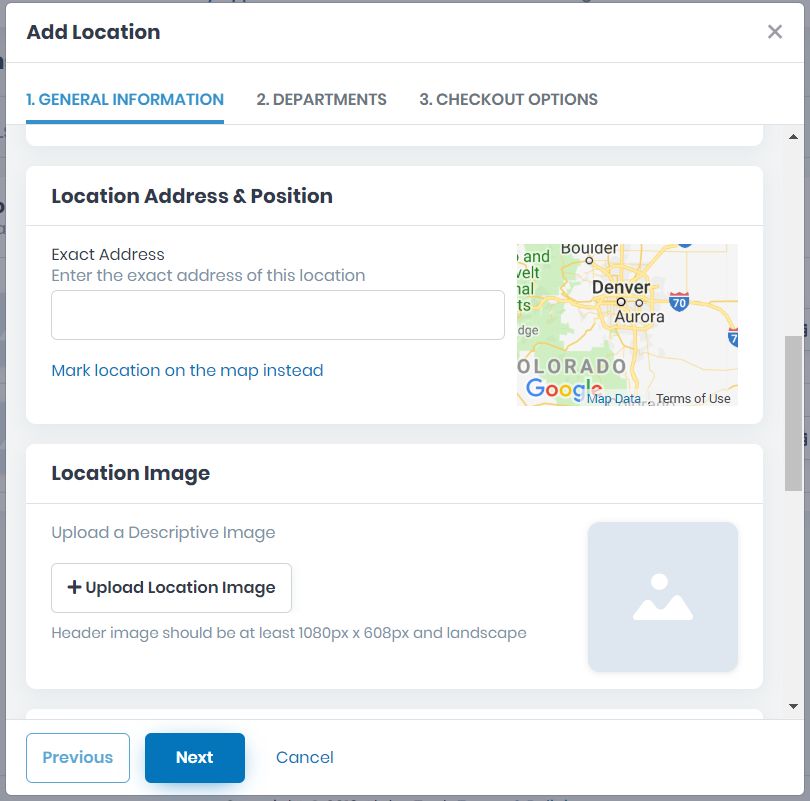
Enter the exact address of this location so that the Location Address & Position will be validated on the map. Upload a descriptive image of the Location and be careful to use the correct size and format in order to show correctly on the app.
Manage Tags for this location by adding the Button URL Destination and Share Text.
These are mandatory fields and the location won’t be saved without them, therefore, please complete them corectly.
If there are some files you want to link to this page, you can do it here, in Developer Options.
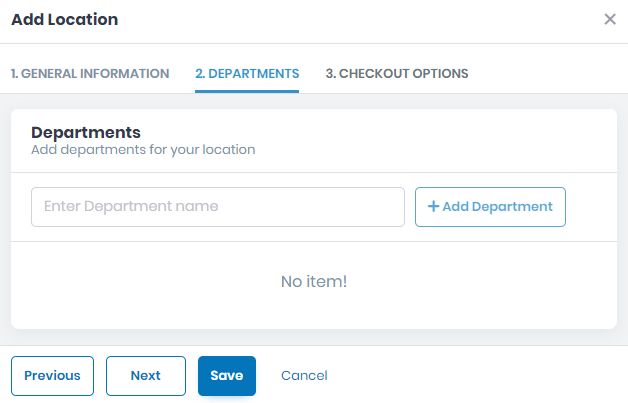
Click Next to go to DEPARTMENTS.
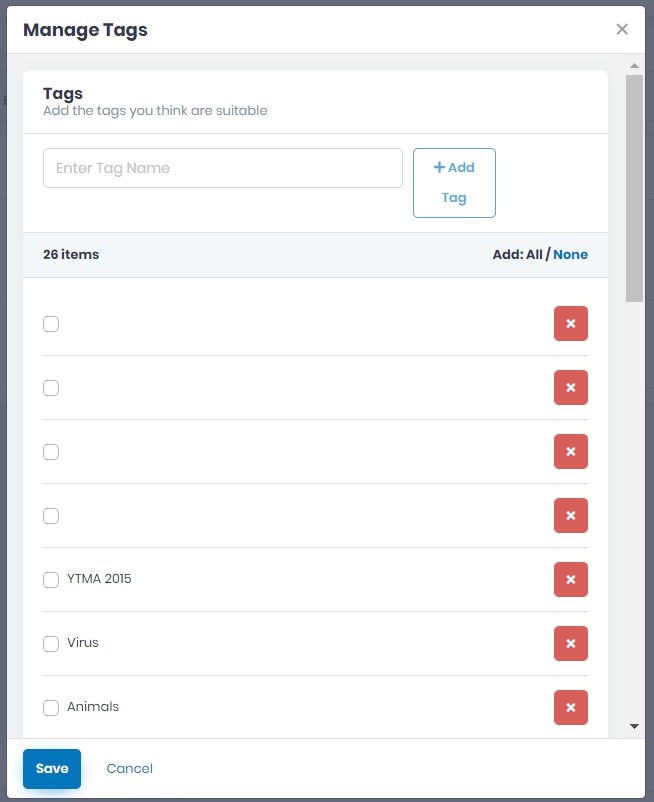
When you click on Manage Tags this pop-up will appear in order for you to add the Tags you think are suitable for this location.
If there are tags that are missing from the list, you can add a new tag by clicking Add Tag button.
Don’t forget to check the box of the tags you want to add to the location.
DEPARTMENTS
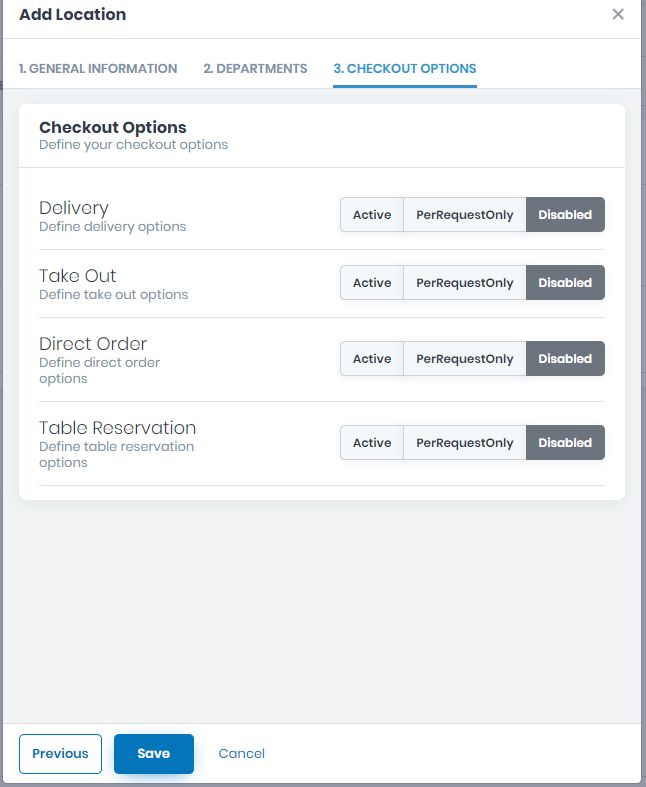
CHECKOUT OPTIONS is the place where you define the checkout options you have while in this location.
Click on the Active/PerRequestOnly/Disabled button to define Delivery, Take Out, Direct Order, and Table Reservation options.
Don’t forget to save the page created by clicking the Save button or go back to change something you consider important.
If you don’t want to save the location click Cancel.
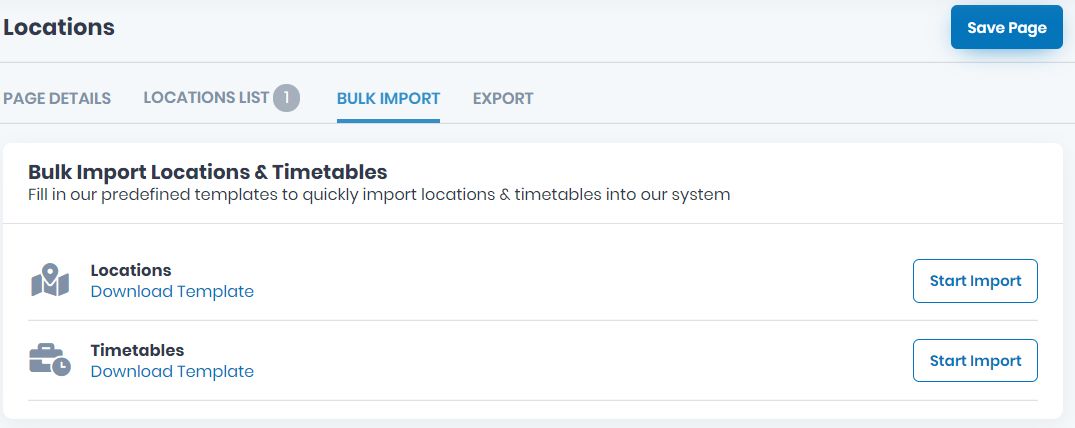
If you want to import your locations go to the BULK IMPORT tab on the menu and fill in our predefined templates to quickly import locations & timetables into our system (Bulk Import Locations & Timetables).
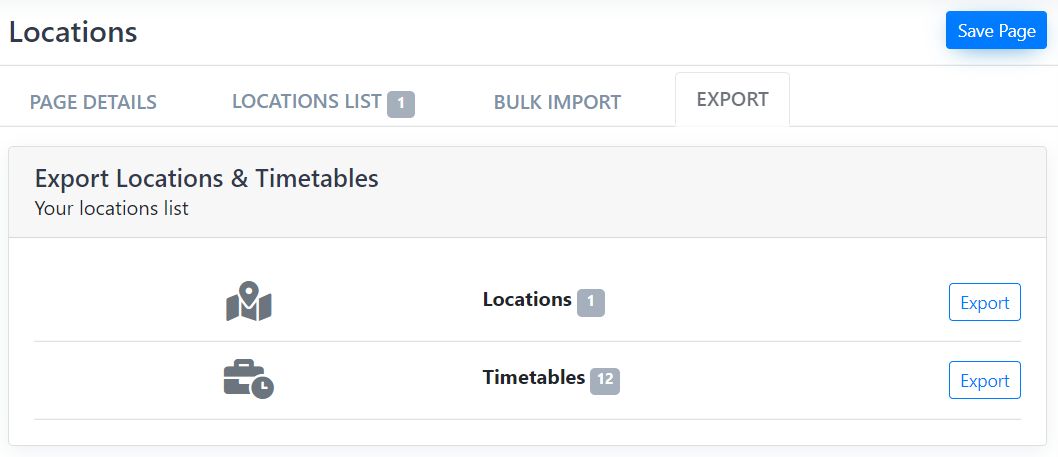
If you want to export your location go to the EXPORT tab on the menu and Export the Location and the Timetables.
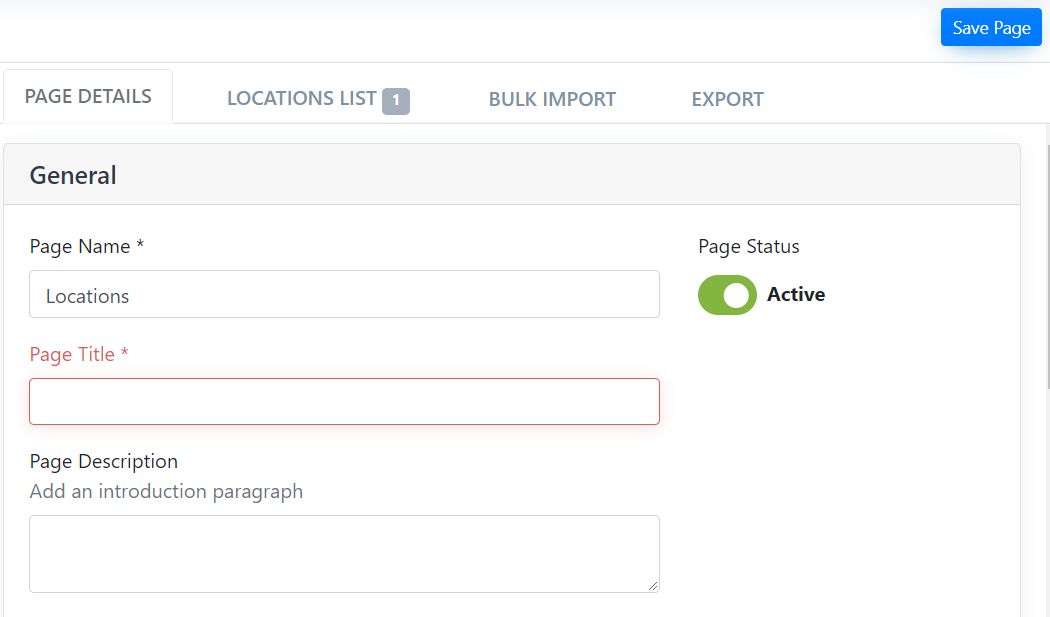
If there will be missing info, the page won’t be saved and the fields will appear in red.
Please be sure to go back and complete them correctly and then save the page by clicking the Save Page button once more.