How to Create the Feedback Page for your App
Create a custom Feedback form and share it with your customers in real time. AlphaApp platform makes it possible for your customer to have a voice!
First of all, be sure to Log In. Click on the Feedback under All Pages, while in App pages in the menu.
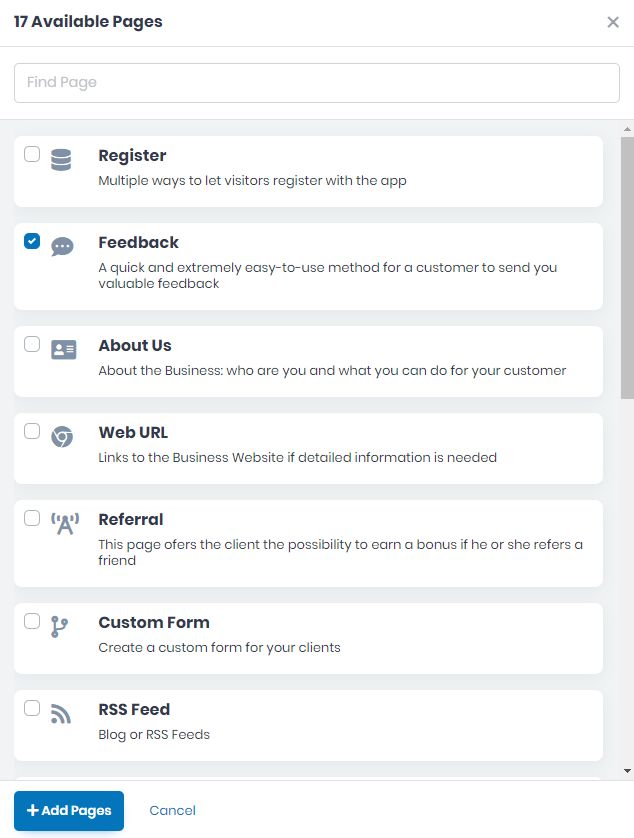
If the page does not appear there, you have to click on Add Pages and select the Feedback page.
Save it by clicking the Add Pages button. Then go back to All Pages and select the Feedback in order to start adding info to it.
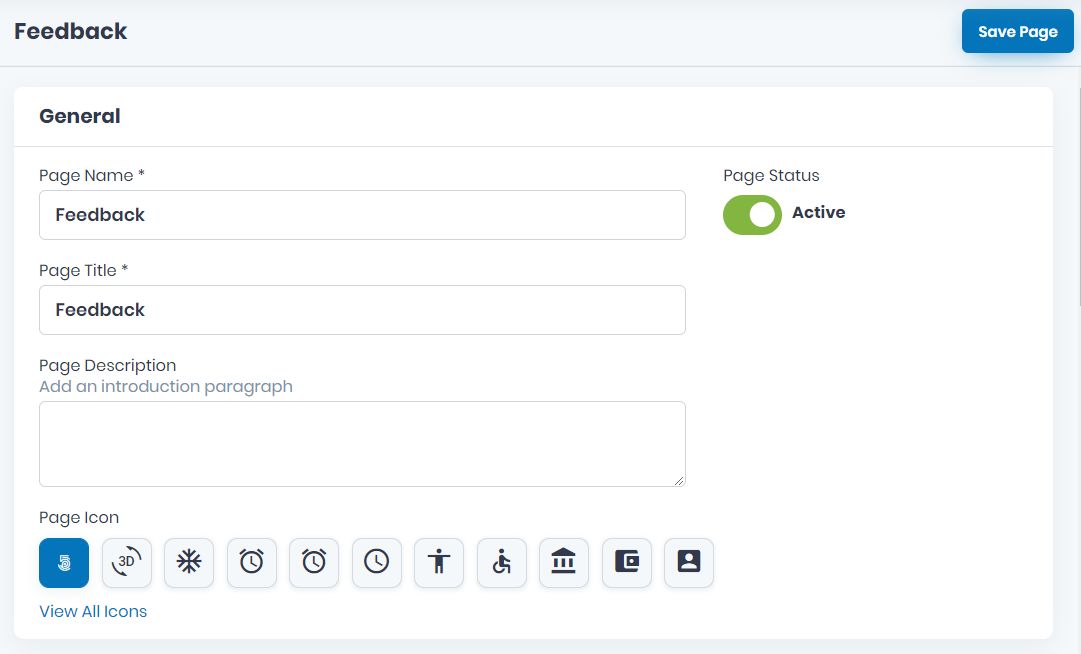
Now, take the time to add the specific info on all the fields on GENERAL. Add the mandatory Page Name, and Page Title, as well as the Page Description and Page Icon. View all icons and choose the page’s icon. Click on the one you want to use and Save.
Choose the Active/Inactive Page Status.
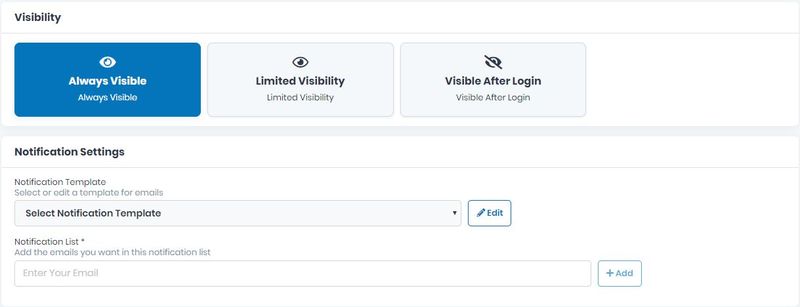
Choose the page Visibility here as follow, Always Visible, Limited Visibility or Visible After Login.
Create the Notification Settings of the feedback page. Select or edit the Notification Template for emails and add the emails you want in this Notification List (mandatory) one by one by clicking the Add button.
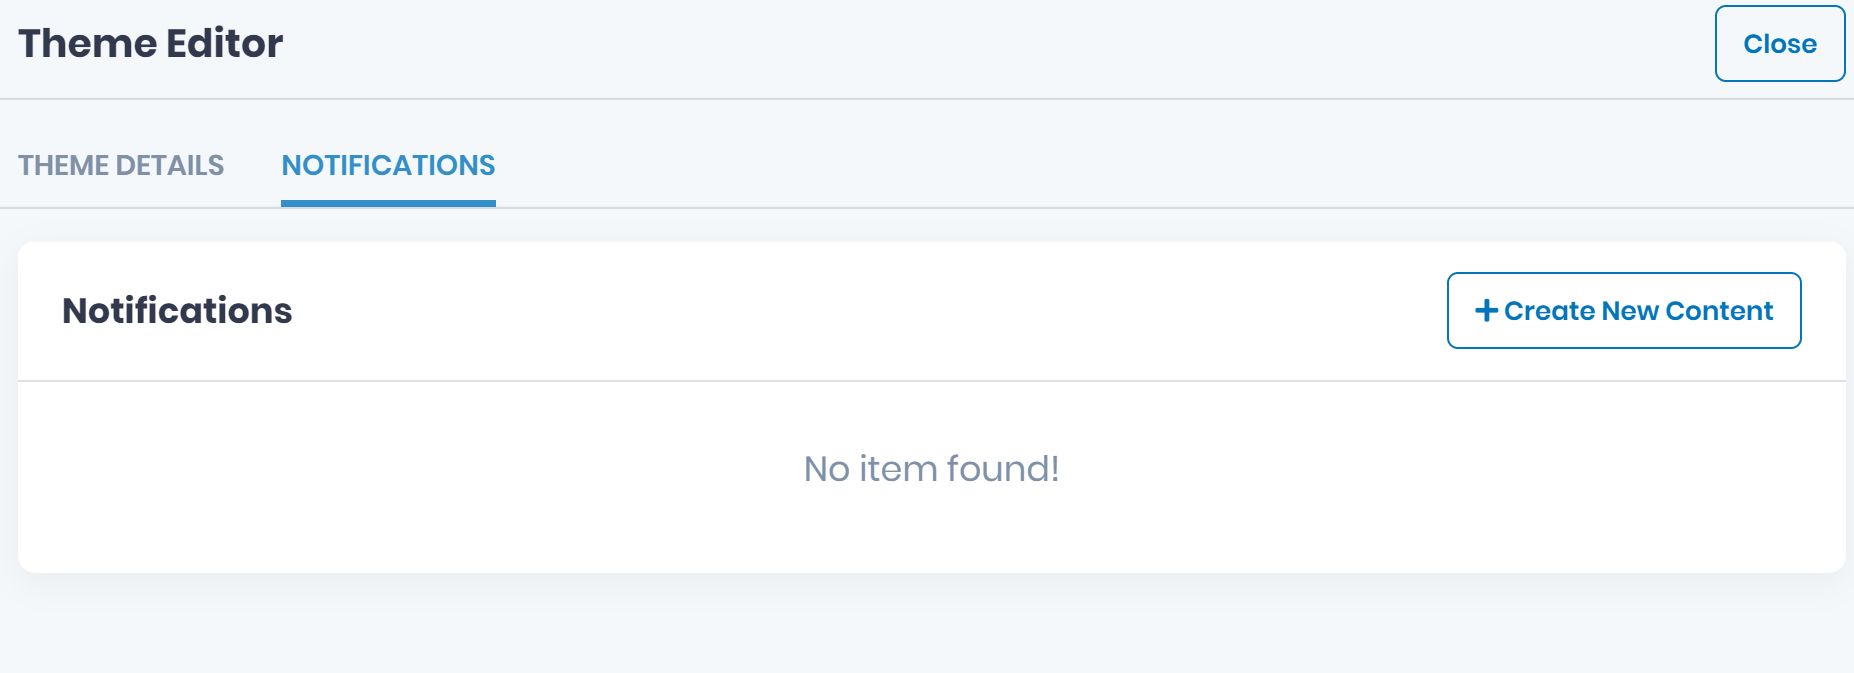
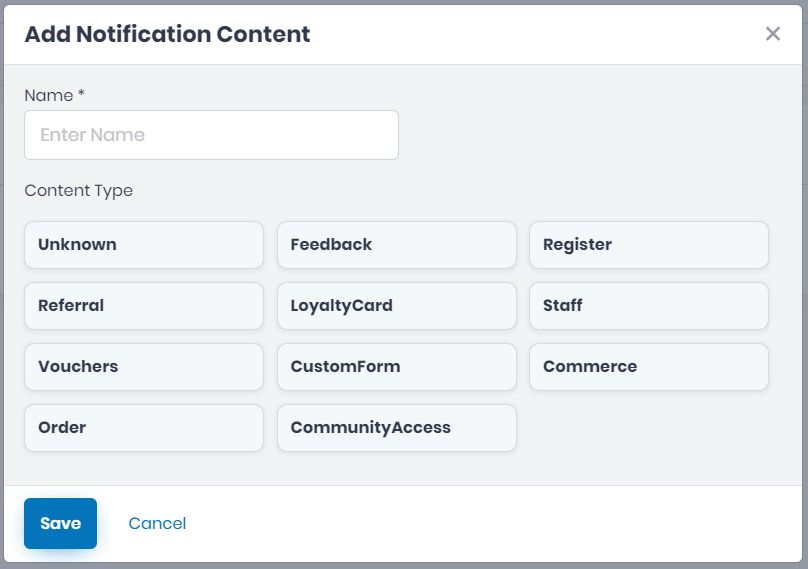
If you want to edit the Notification Template by clicking the Edit button a new window will open where you can Create New Content.
Add the Name and the Content-Type of the New Content. Then click the Save button or Cancel if you don’t want to save it.
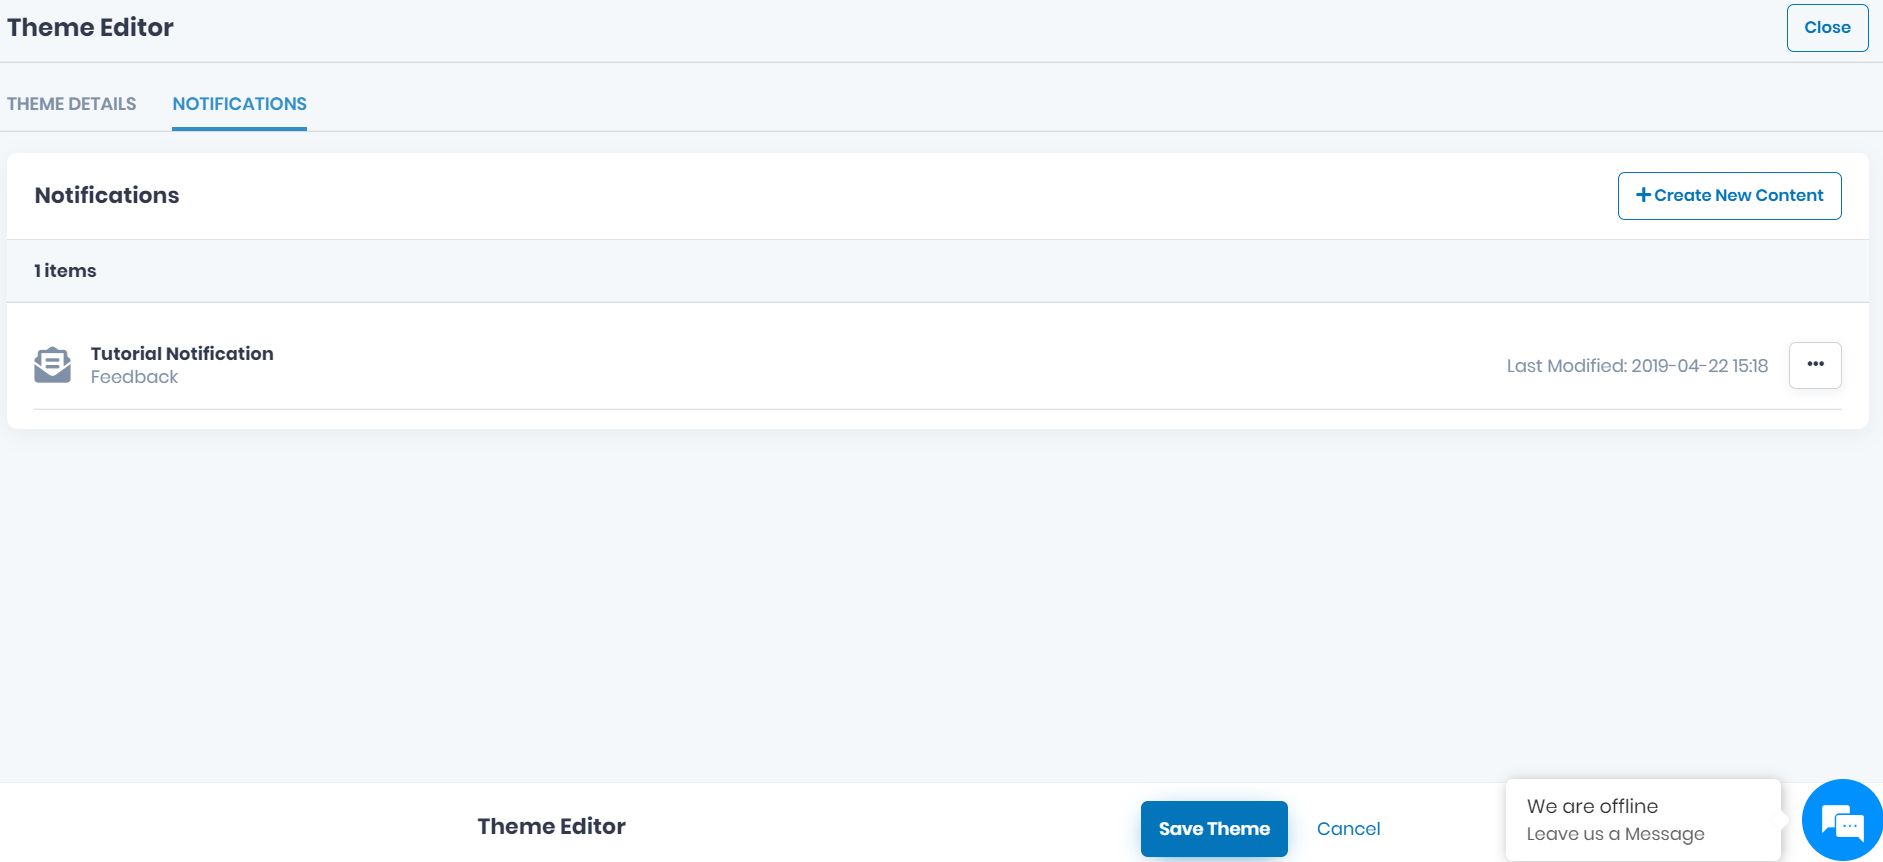
If you want to add new contact repeat the last step, but if you want to go ahead with the page click on Close and go back to Notification Settings and Select the Template you just created.
Scroll down and add the Page Content. The Description is a mandatory field, so please specify the core line of your business and highlight various awards and other recognition your organization has received. Then, add the Submit Button Text, also a mandatory field.
Add the Background Image you want for this page.
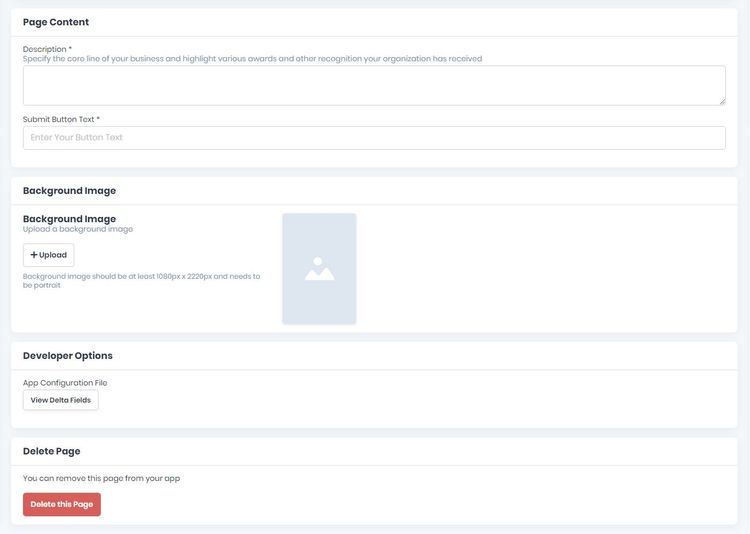
If there are some files you want to link to this page, you can do it here, in Developer Options.
If you wish to delete this page from your app, you can do it by clicking Delete this Page.
Don’t forget to save the page created by clicking the Save Page button up on the right.
If there will be missing info, the page won’t be saved and the fields will appear in red. Please be sure to go back and complete them correctly and then save the page by clicking the Save Page button once more.
Example

