How to Create the Custom Form Page for your App
Customize your quotation form as you wish, AlphaApp platform offers you endless possibilities. This feature can help others in streamlining their appointment schedules. You, as a business owner, will receive notifications only from those customers who are really interested in your services and solutions.
First of all, be sure to Log In. Click on the Custom Form Page under All Pages, while in App pages in the menu.
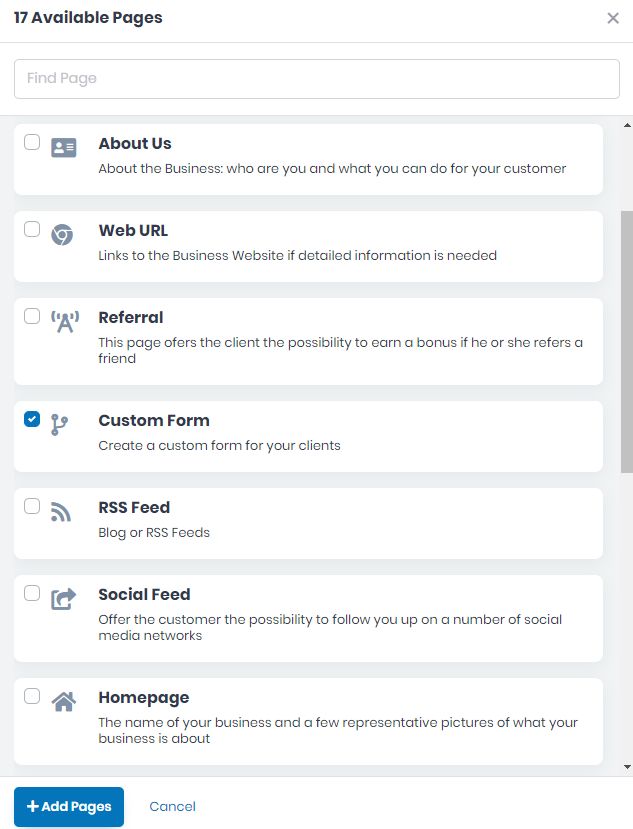
If the page does not appear there, you have to click on Add Pages and select the Custom Form page.
Save it by clicking the Add Pages button. Then go back to All Pages and select the Custom Form page in order to start adding info to it.
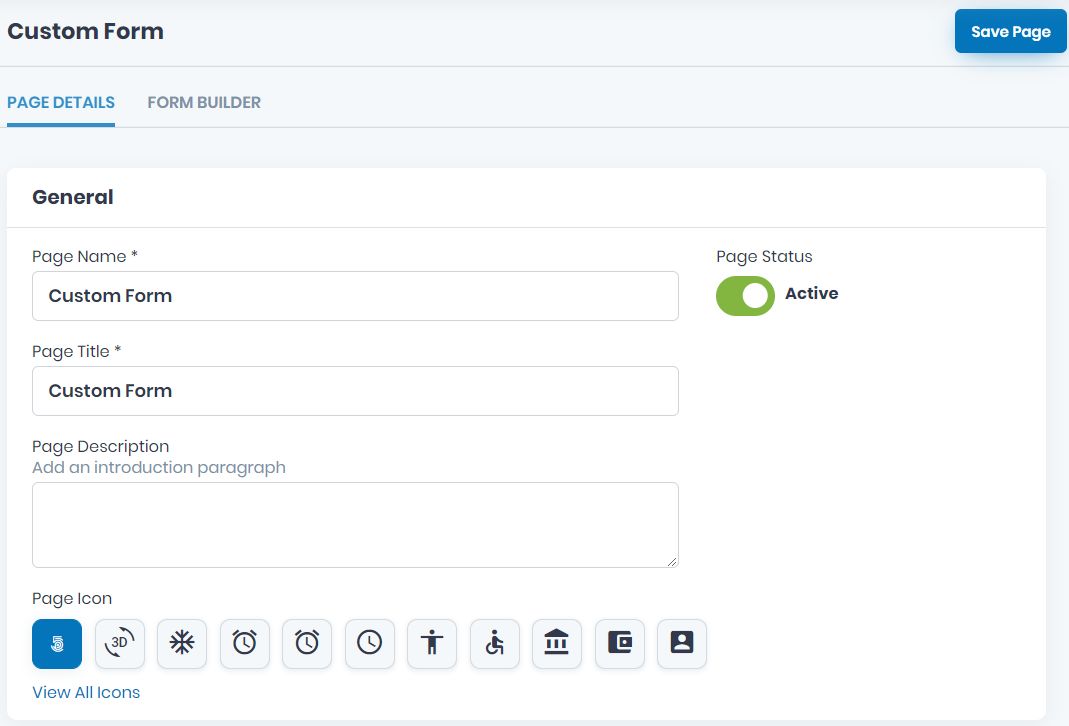
Now, take the time to add the specific info on all the General fields. Add the mandatory Page Name, and Page Title, as well as the
Page Description and Page Icon. View all icons and choose the page’s icon. Click on the one you want to use and Save.
Choose the Active/Inactive Page Status.
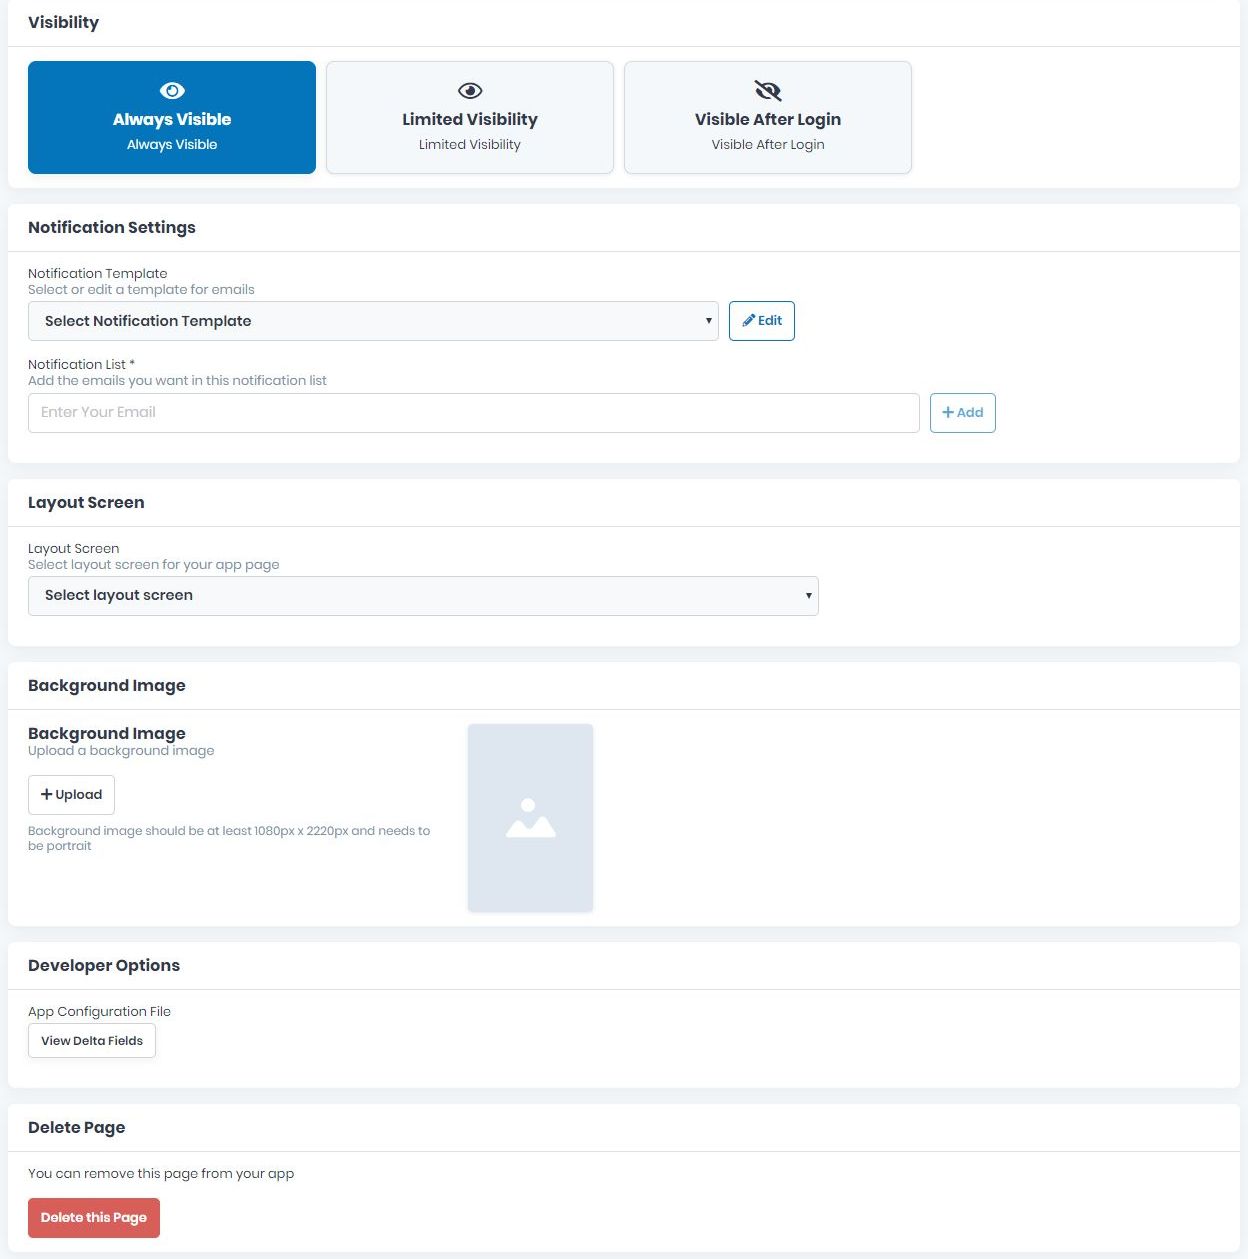
Choose the page Visibility here as follow, Always Visible, Limited Visibility or Visible After Login.
Now you can establish the page Notification Settings. Add the Notification Template and the mandatory Notification list info (one by one by clicking the Add button).
Select the layout screen for your app page.
Add a background image.
If there are some files you want to link to this page, you can do it here, in Developer Options.
If you wish to delete this page from your app, you can do it by clicking Delete this Page.
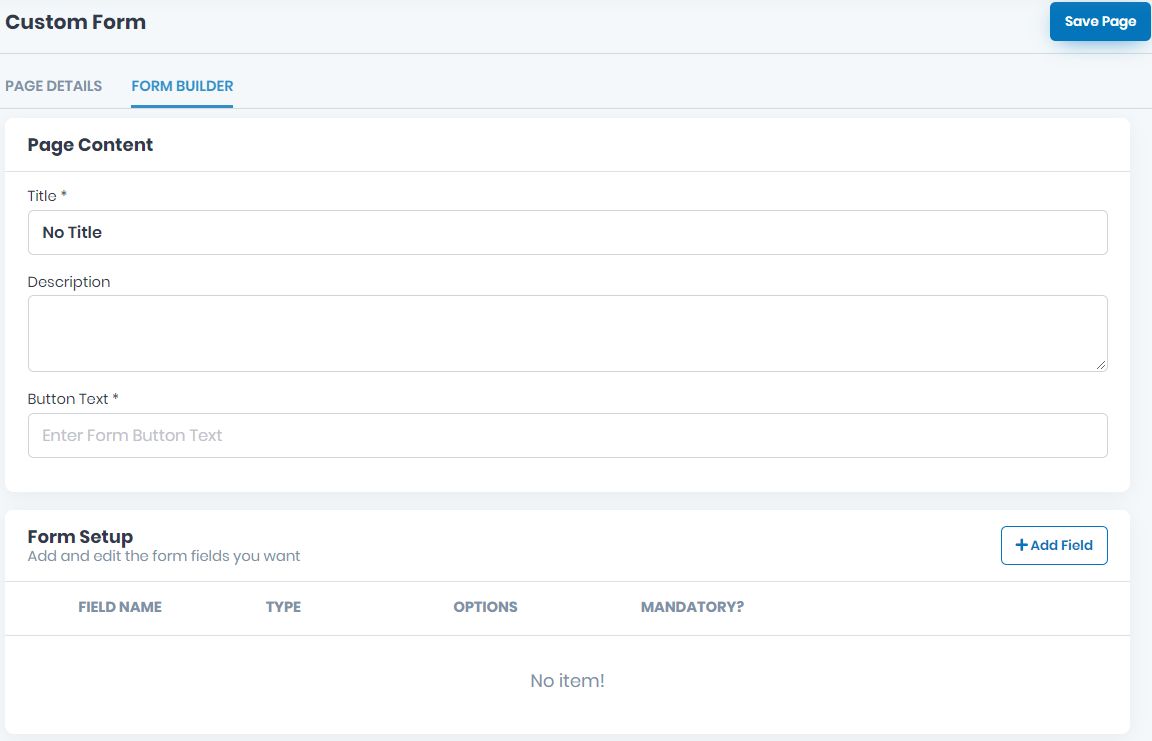
Now, go to FORM BUILDER tab and add the Page Content (the mandatory Title, and Button Text, as well as the Description).
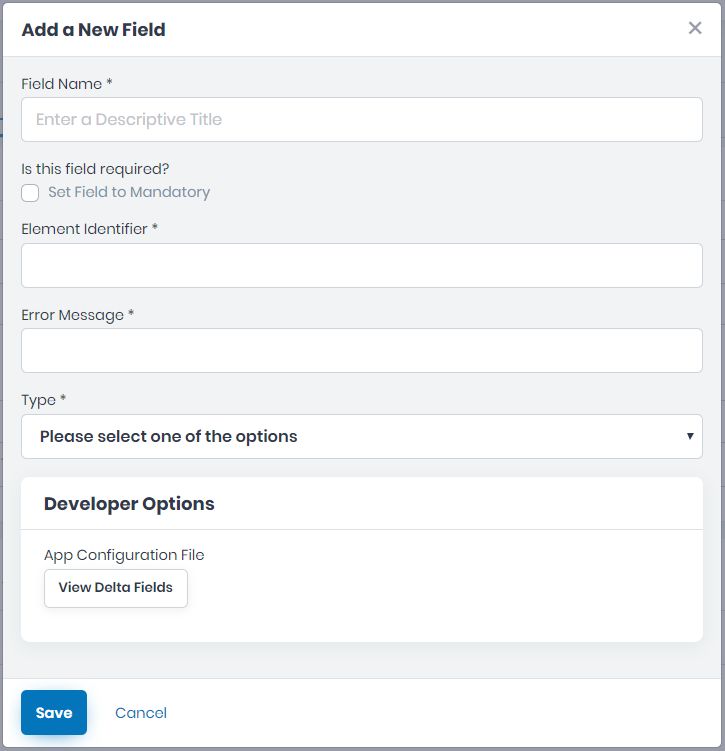
Add and edit the form fields you want as you want in order to create the desired Form Setup. If you want to add a new field click on Add Field and a pop-up will appear.
Write the Field Name, and choose if the field is mandatory or not by checking (or not) the box. Add the Element Identifier, the Error Message you want to appear. Select one Type of the field you want to be added.
After you choose the type a new field will appear asking you to write the option name.
If there are some files you want to link to this page, you can do it here, in Developer Options.
If you want to keep the new field added press Save. If not, press Cancel and the field will not be saved.
There is the possibility to add multiple fields on your custom form, just be sure to click on Add Field and repeat the whole process of adding the info.
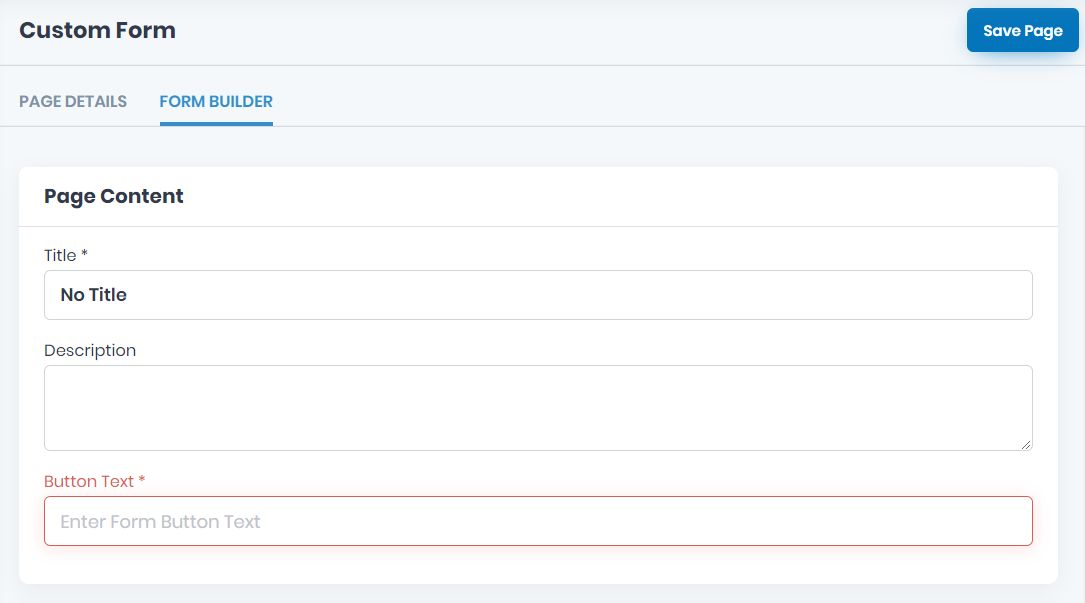
Don’t forget to save the page created by clicking the Save Page button up on the right.
If there will be missing info, the page won’t be saved and the fields will appear in red. Please be sure to go back and complete them correctly and then save the page by clicking the Save Page button once more.